
Connect Claude Desktop
Add Celoxis MCP via Edit Config
You need:
- Ihre Celoxis MCP-URL
- Ihr Zugriffstoken
- Node.js (required for the
npxcommand)
- Install Node.js
If Node.js is not already installed, install it before continuing.
- Open the configuration file
- Open Claude Desktop.
- Open Settings.
- Navigate to Desktop App → Developer.
- Click Edit Config.
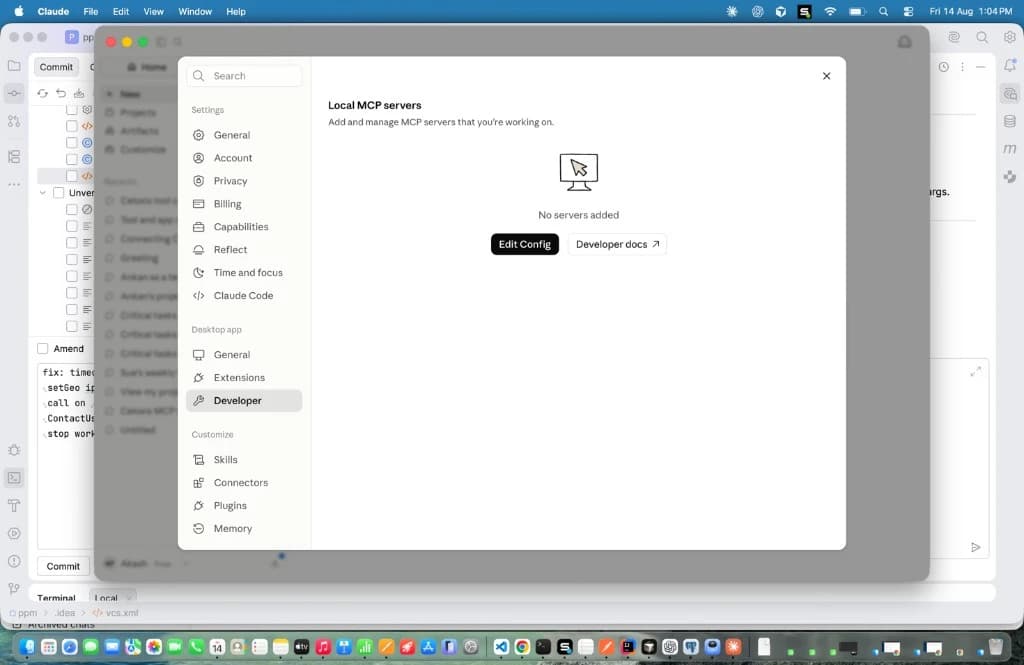
Speicherorte der Konfigurationsdateien:
Betriebssystem Weg macOS ~/Library/Application Support/Claude/claude_desktop_config.jsonWindows %APPDATA%\Claude\claude_desktop_config.json - Add the MCP configuration
{ "mcpServers": { "Celoxis MCP": { "command": "npx", "args": [ "-y", "mcp-remote", "https://hostname.domain.com/psa/mcp", "--header", "Authorization: Bearer <Your-Token>" ] } } }Ersetzen Sie die URL und das Token durch Ihre eigenen Werte. Wichtig:
- Lassen Sie nach
„Bearer“ein Leerzeichen. - Stellen Sie sicher, dass das JSON gültig ist
- Do not leave trailing commas
Speichern Sie die Datei.
- Lassen Sie nach
- Überprüfen Sie die Verbindung
- Completely close Claude Desktop.
- Reopen the application.
- Open Settings → Developer.
- Verify that Celoxis MCP appears with the status Running.
- Beginnen Sie ein neues Gespräch.
- Frage: Wer bin ich in Celoxis?
Siehe auch Integration testen und Fehlerbehebung.