
Intégration de Jira via Zapier
Dans de nombreuses organisations, Jira reste le logiciel clé pour les développeurs, tandis que les chefs de projet et les bureaux de gestion de projet (PMO) souhaitent utiliser un logiciel de gestion de projet tout en conservant une visibilité sur la charge de travail des ressources.
Grâce à cette intégration, vous pourrez créer automatiquement des tâches dans Celoxis lors de la création de tickets dans Jira. De même, lorsque des tickets sont mis à jour dans Jira, les tâches correspondantes dans Celoxis seront automatiquement mises à jour.
Zapier
Celoxis s'intègre à Jira et à de nombreuses autres applications grâce à Zapier. Zapier est un service cloud qui permet de créer des intégrations performantes entre différents systèmes sans écrire de code. Pour plus d'informations, consultez leur site web : zapier.com.
Zap
Dans Zapier, une automatisation est appelée un zap. Un zap connecte deux applications : une application déclencheuse et une application d'action. L'application déclencheuse notifie le zap d'un événement, et le zap exécute alors une action dans l'application d'action. Dans notre cas, l'application déclencheuse est Jira, car elle notifie notre zap lorsqu'une demande est créée ou mise à jour. L'application d'action est Celoxis, car c'est là que notre zap créera et mettra à jour les tâches. Dans ce guide, nous allons créer deux zaps :
- Zap n° 1 — lorsqu'un problème est créé dans Jira, créez une tâche dans Celoxis.
- Zap n° 2 — lorsqu'un problème est mis à jour dans Jira, mettez à jour la tâche correspondante dans Celoxis.
Voyons comment Jira, Zapier et Celoxis s'articulent entre eux :
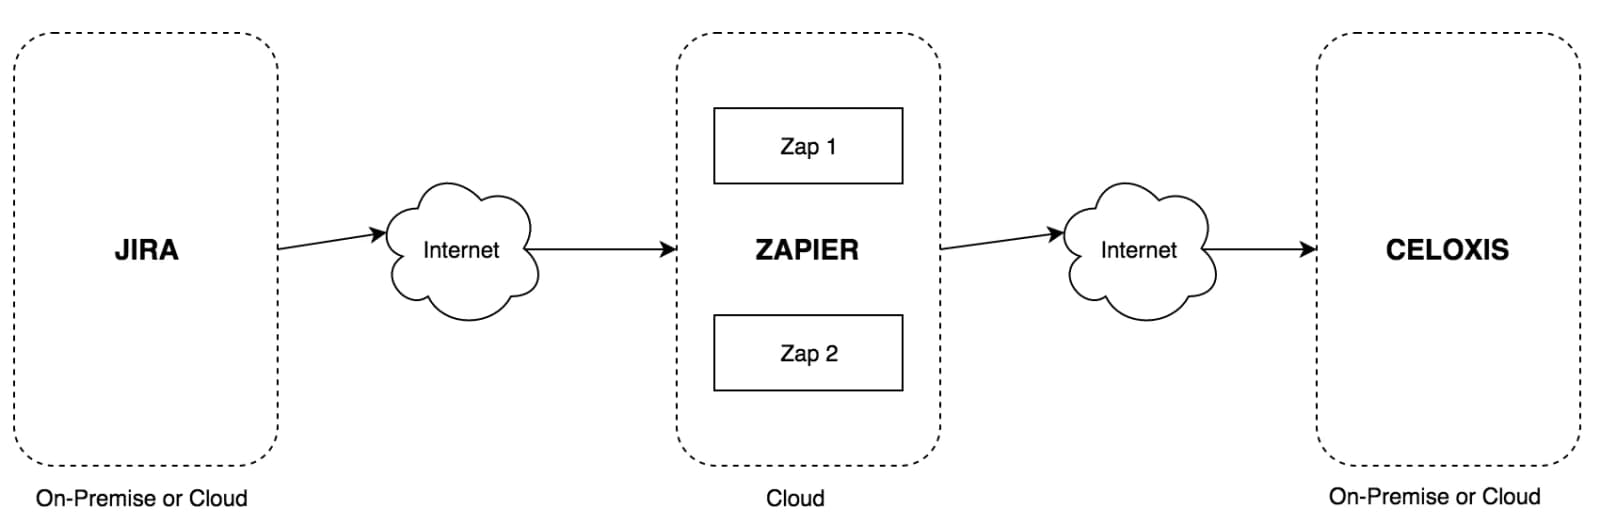
Le schéma ci-dessus montre que Jira et Celoxis peuvent être intégrés à notre intranet à condition d'y avoir accès depuis Internet. Il est possible de configurer l'accès Internet uniquement via Zapier.
Zap #1 – New issue in Jira → Create task in Celoxis
- Faites un Zap

- Choisissez Jira comme application de déclenchement
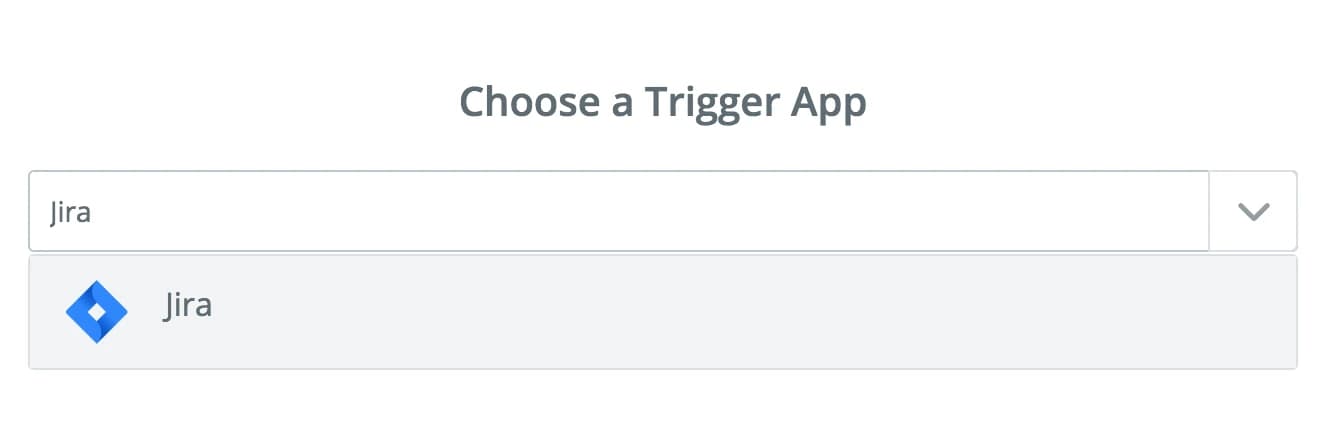
- Sélectionnez le déclencheur Jira « Nouveau ticket »

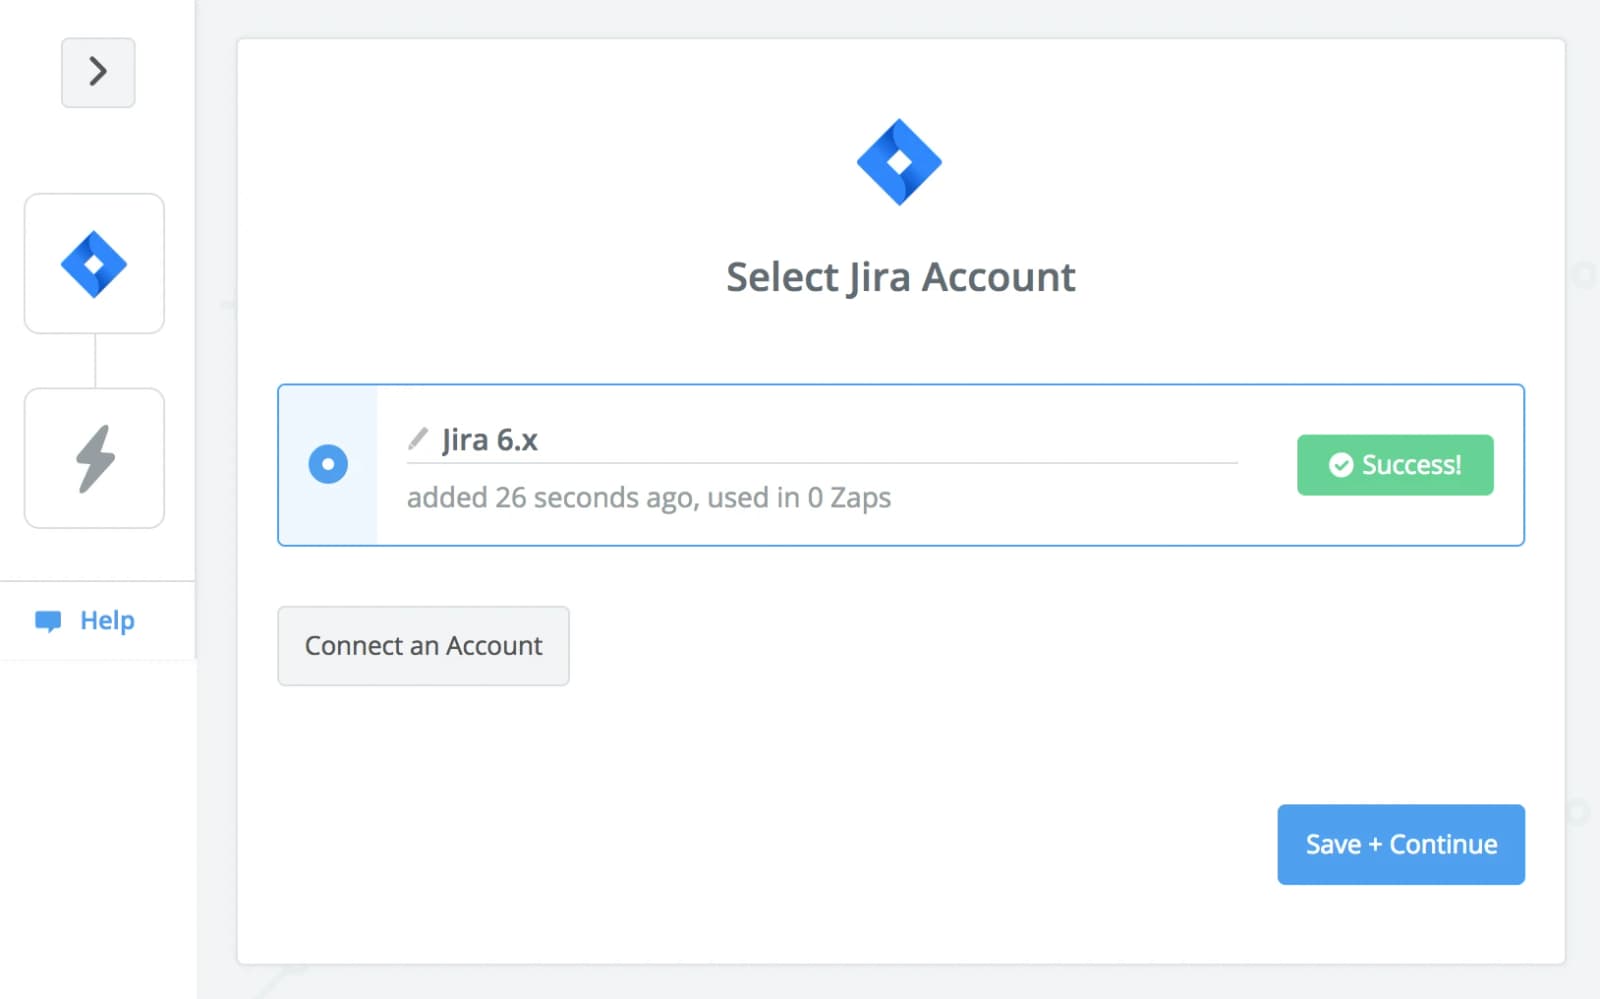
- Connect with Jira If you use Zapier and have connected with Jira, you can use that account. Otherwise, click on Connect an Account to create a new connection with Jira.

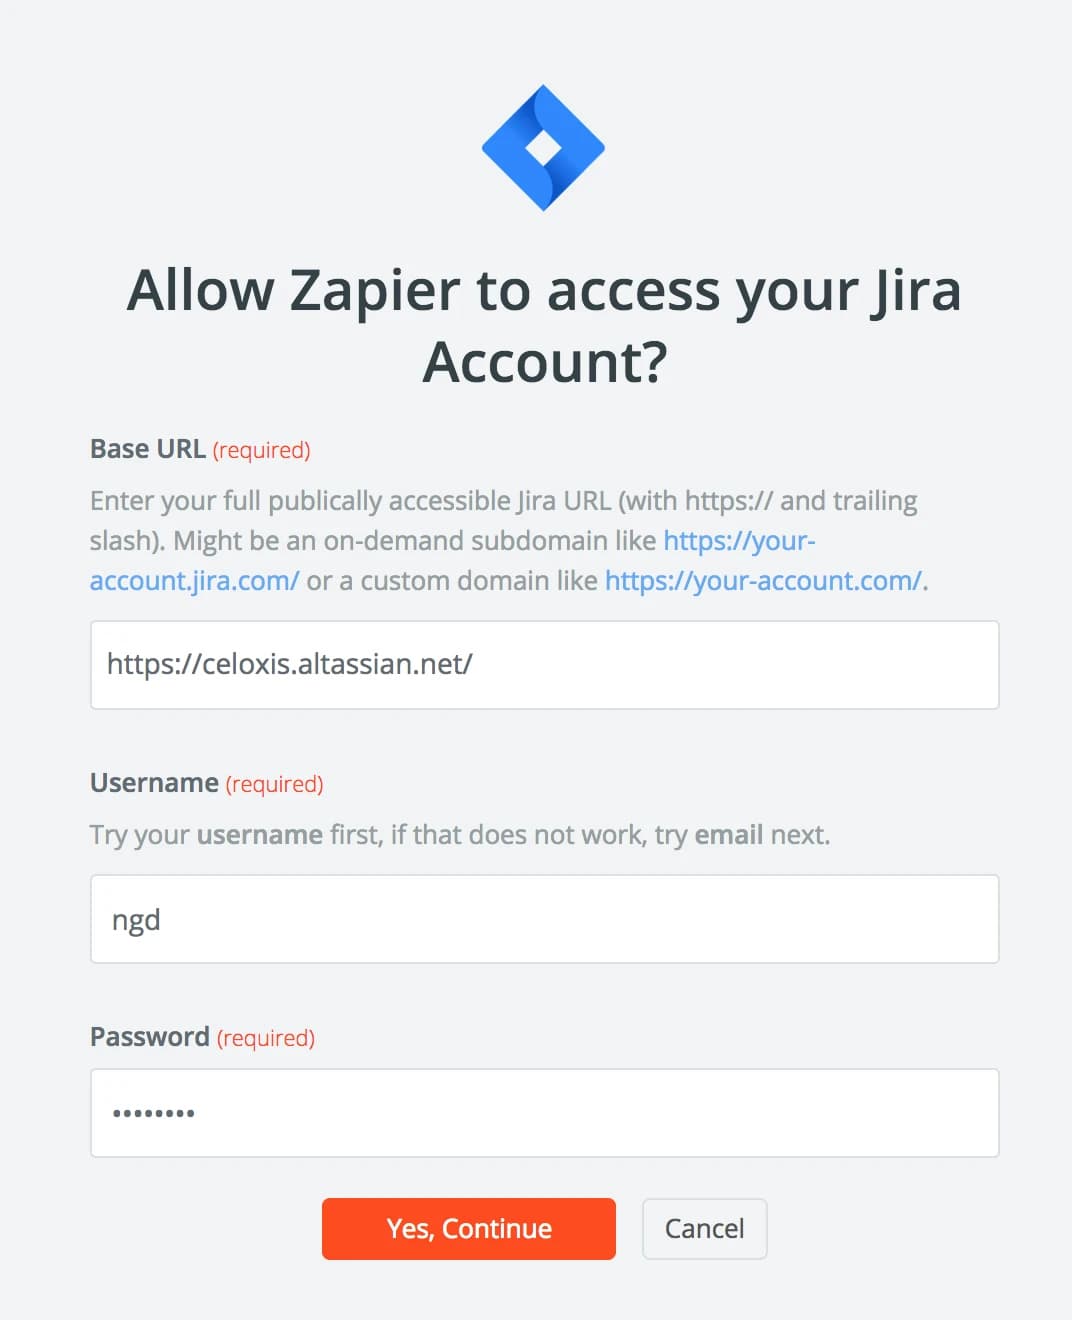
- Saisissez vos identifiants Jira Notice the forward slash at the end of the Base Url.
- Test your newly added connection Click on the Test button to verify the validity of the credentials.
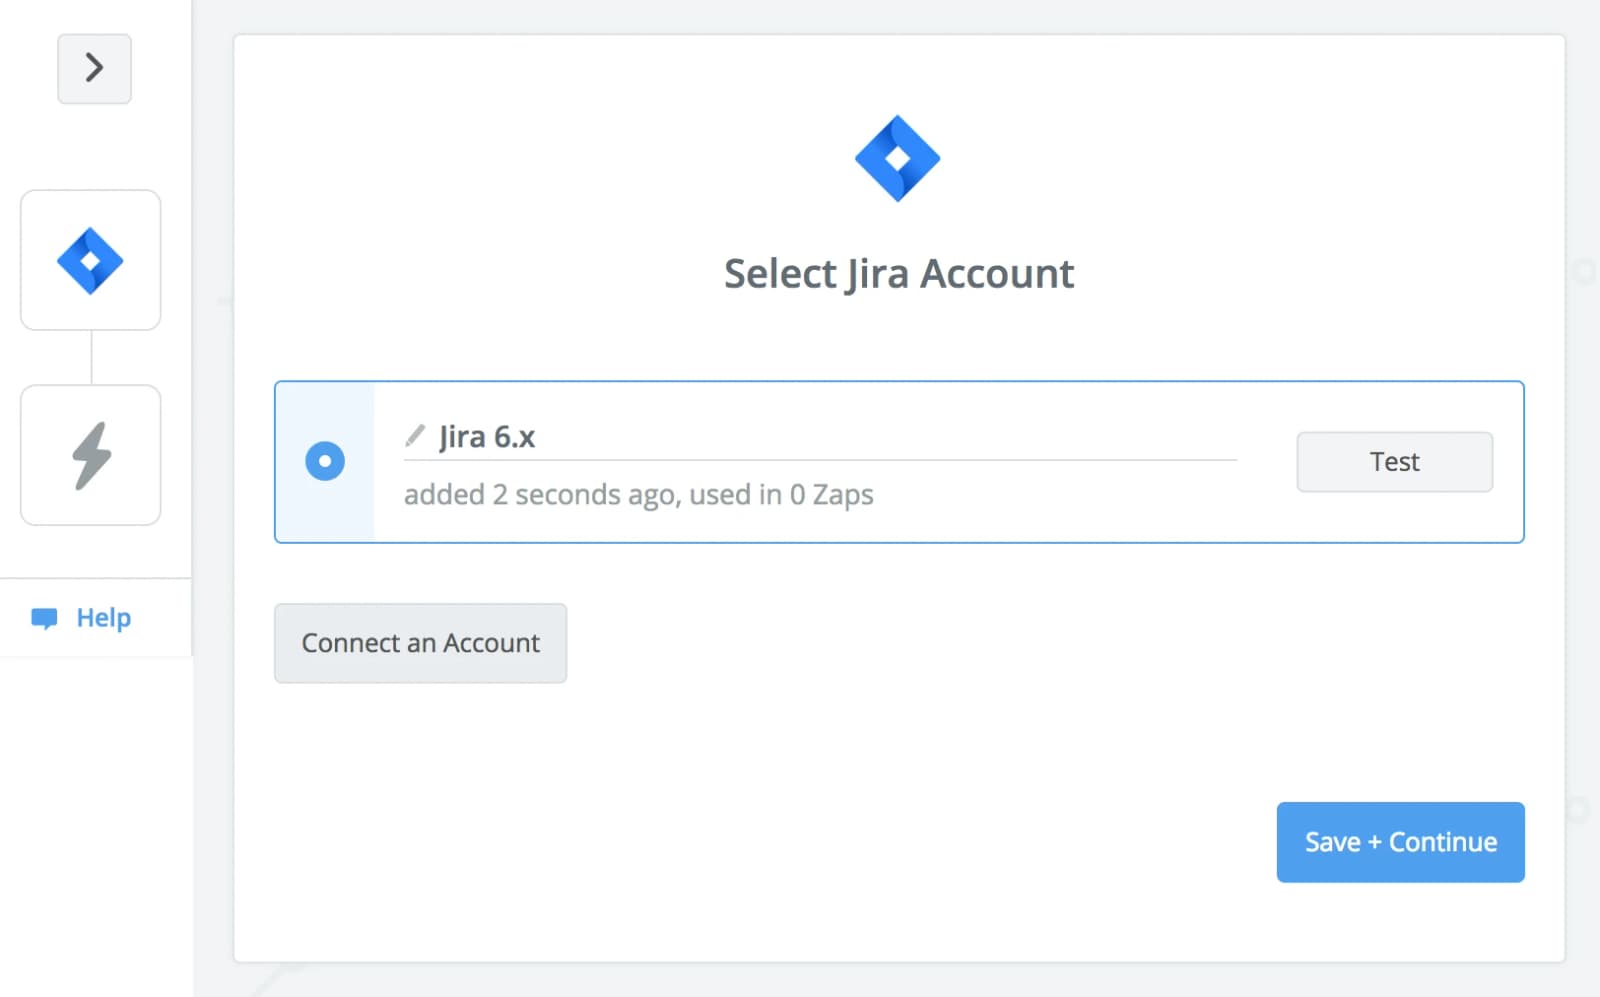
- You connection is valid If invalid, enter the correct details and try again.
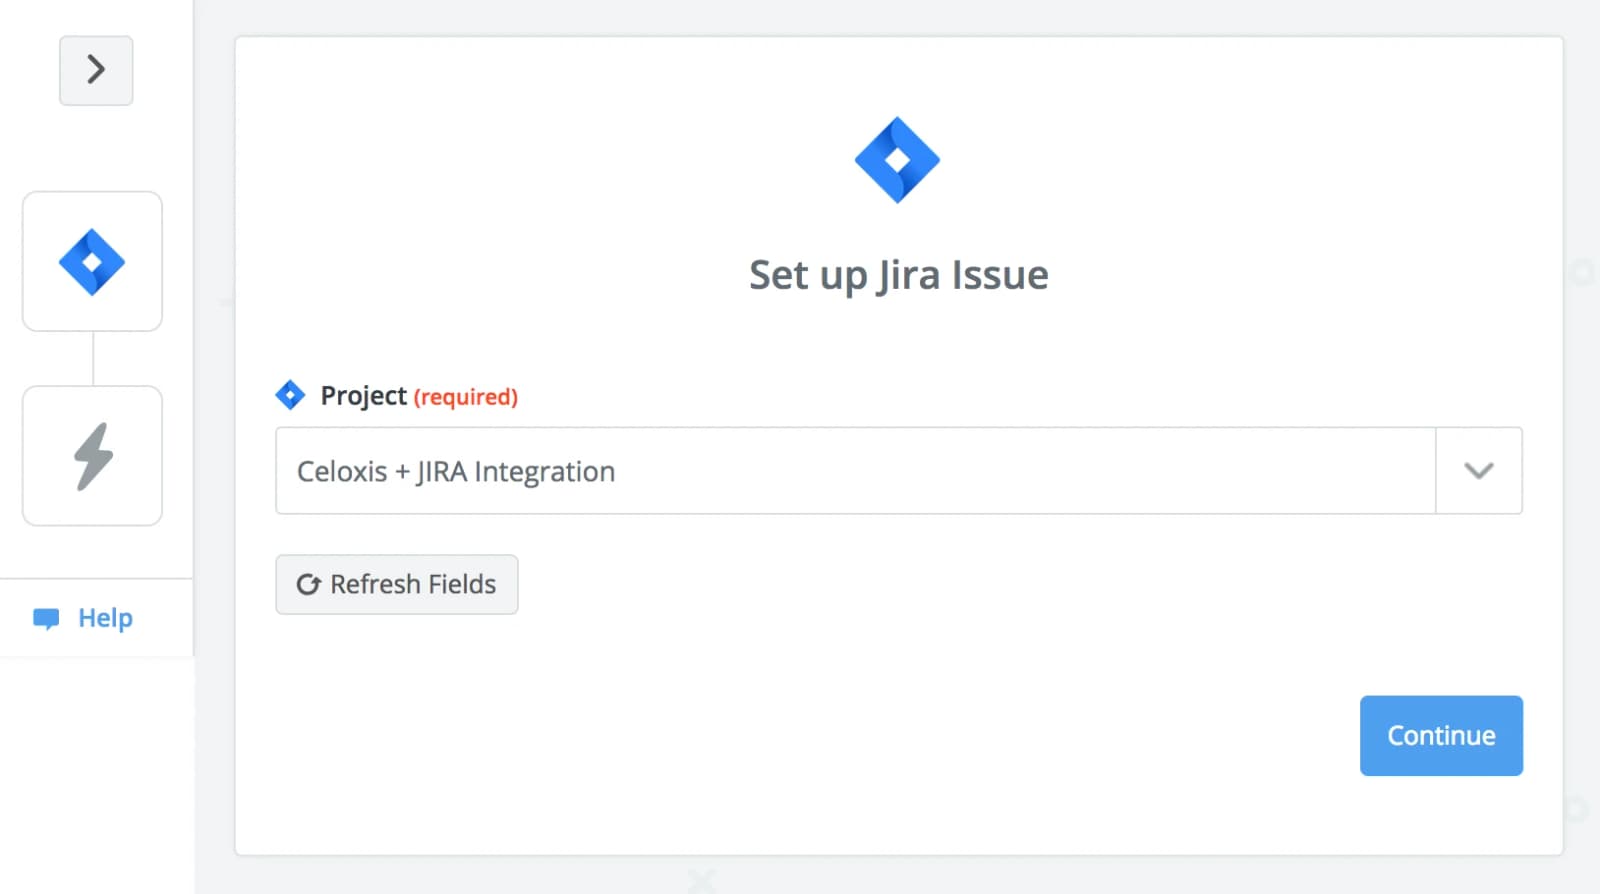
- Select a Jira project Only issues in this project will be monitored by this Zap.
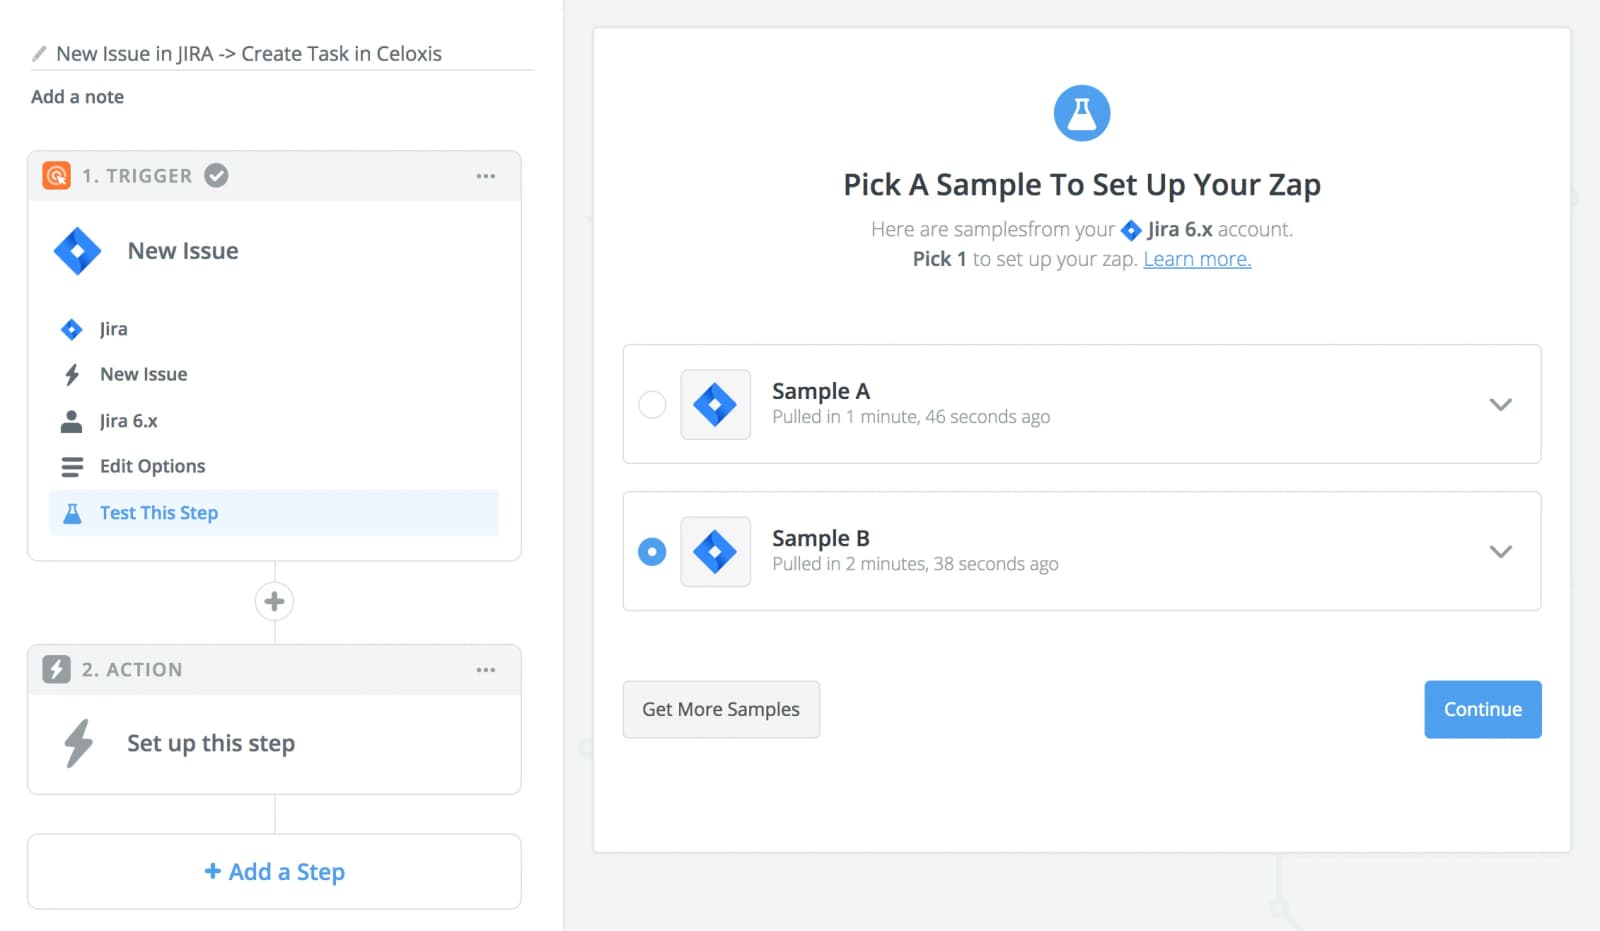
- Pick a Jira sample Pick a sample issue with the most details. The fields in this sample issue will be helpful later on.
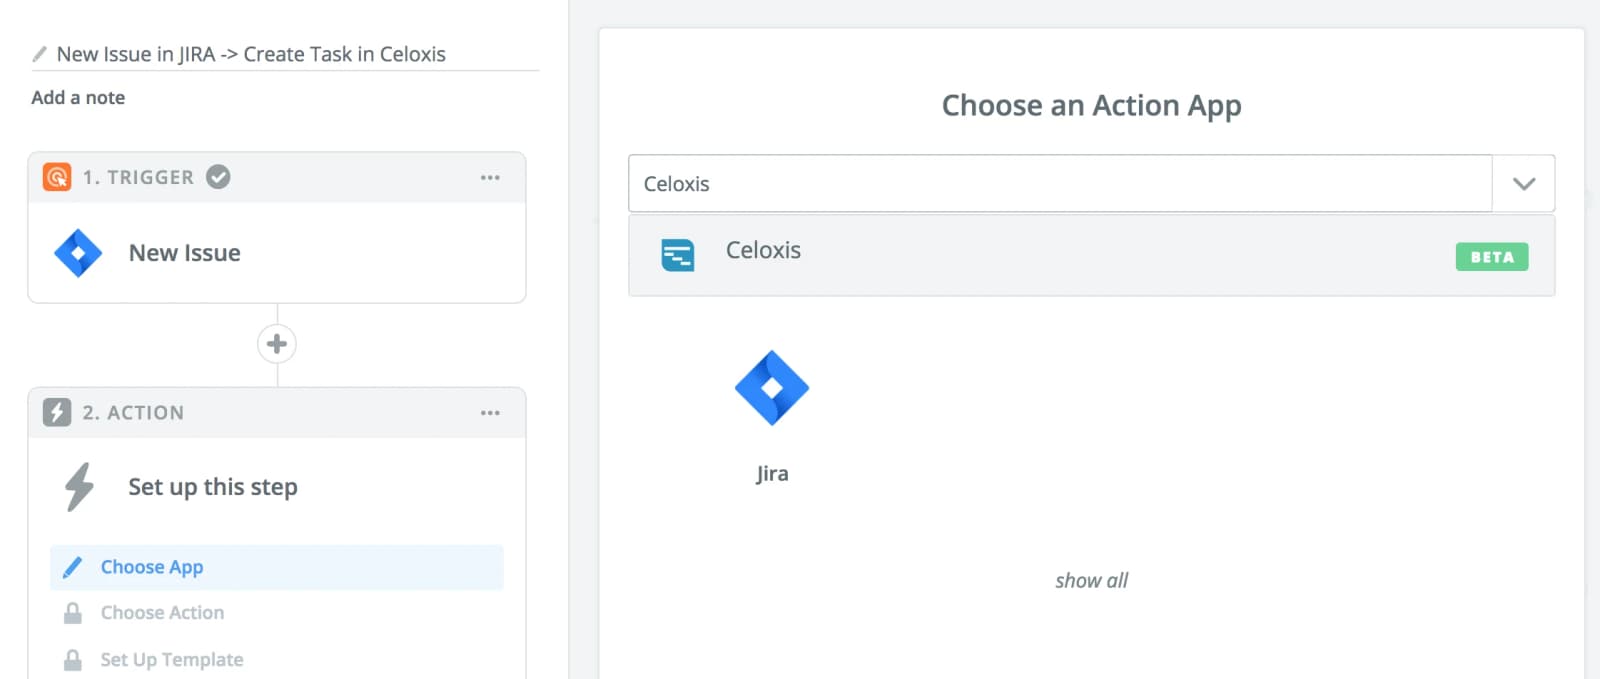
- Choisissez Celoxis comme application d'action
- Sélectionnez l'action « Créer une tâche »

- Connect with Celoxis Click on Connect an Account to enter your connection details.

- Enter your connection details Use your Celoxis API key or generate a new API key. To generate an API key, please read the Zapier Authentication section.
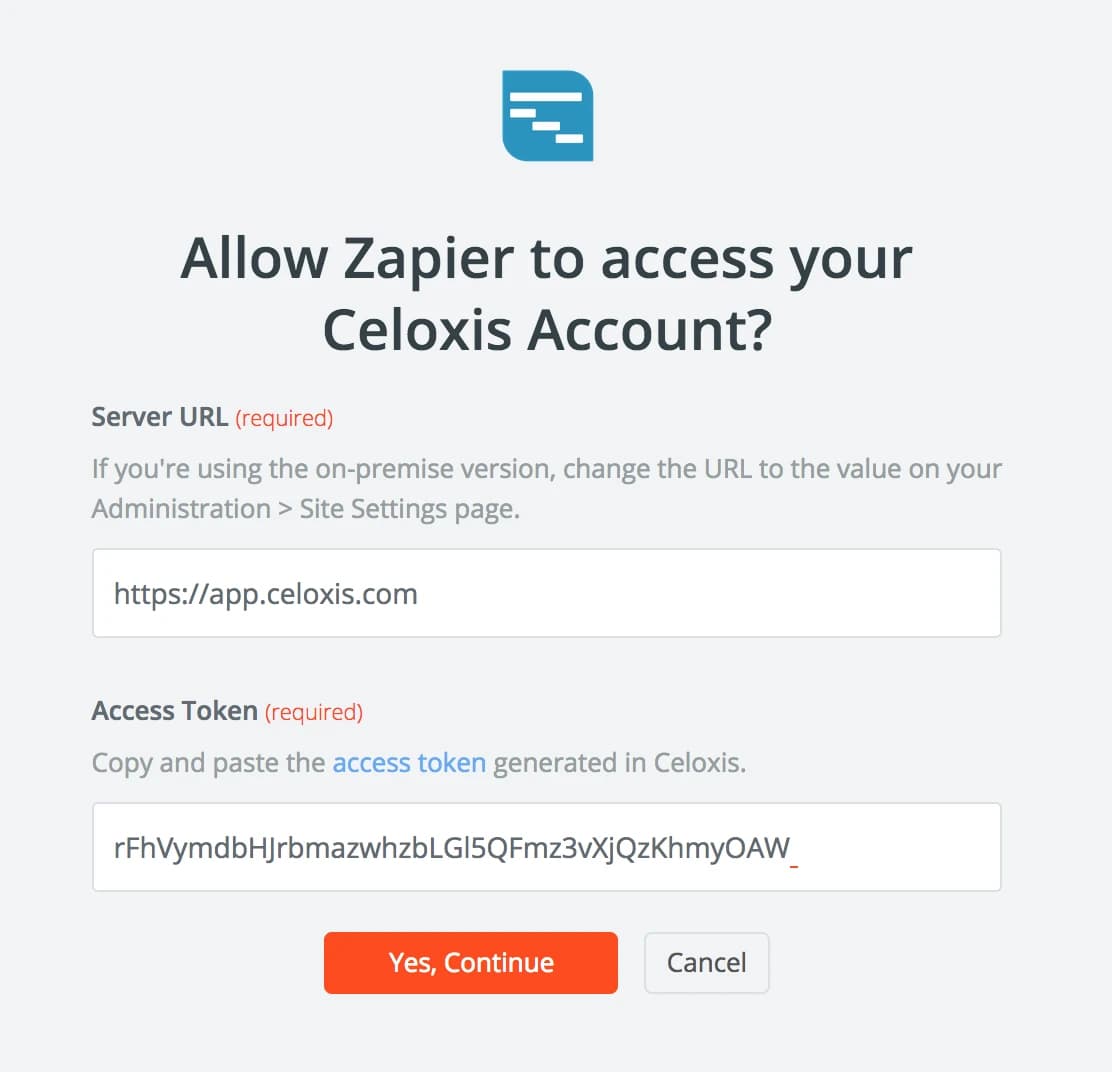
- Test the newly added connection Click on the Test button to verify the validity of the credentials.
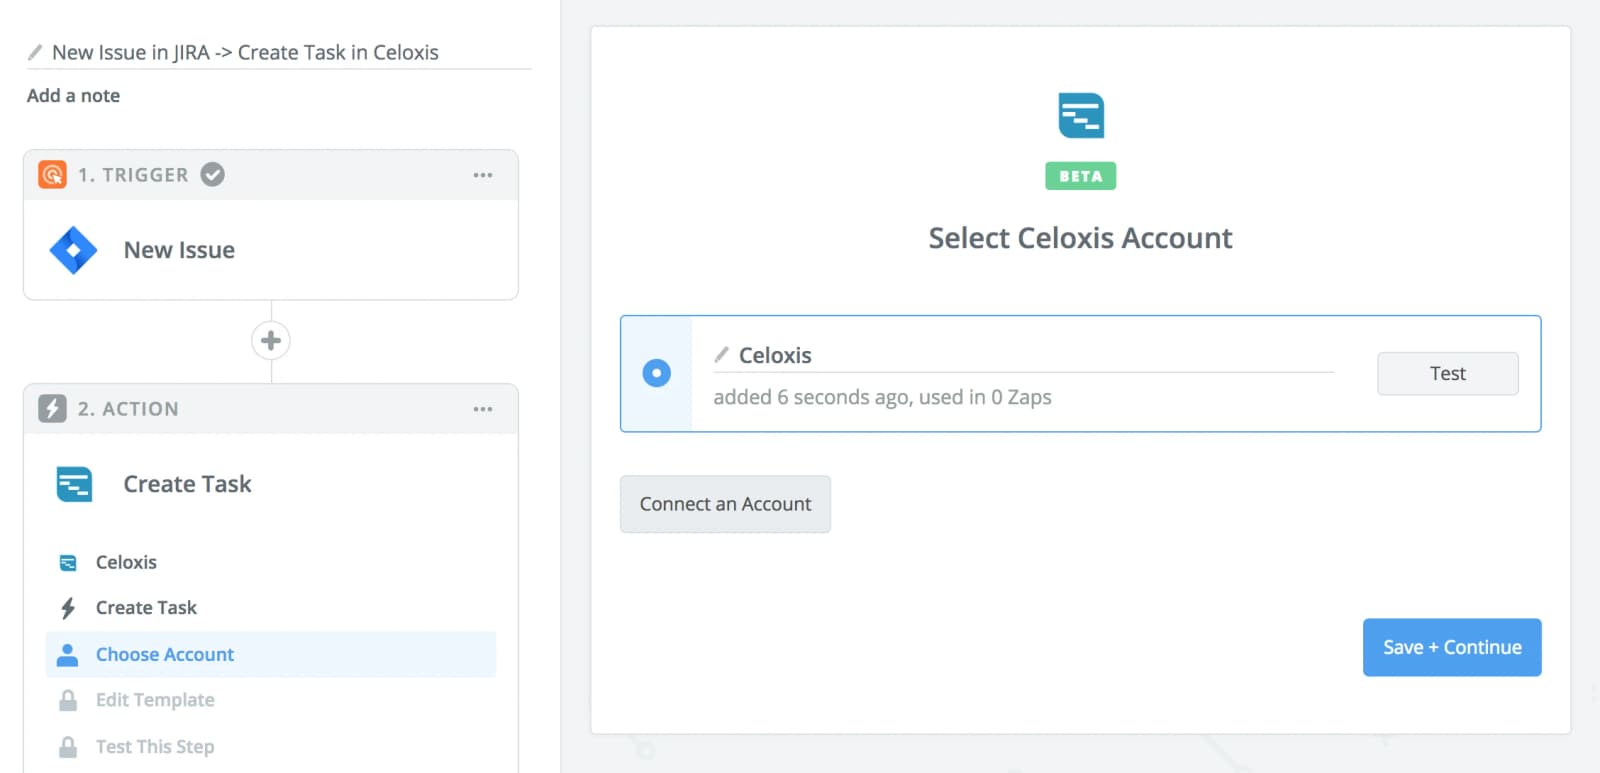
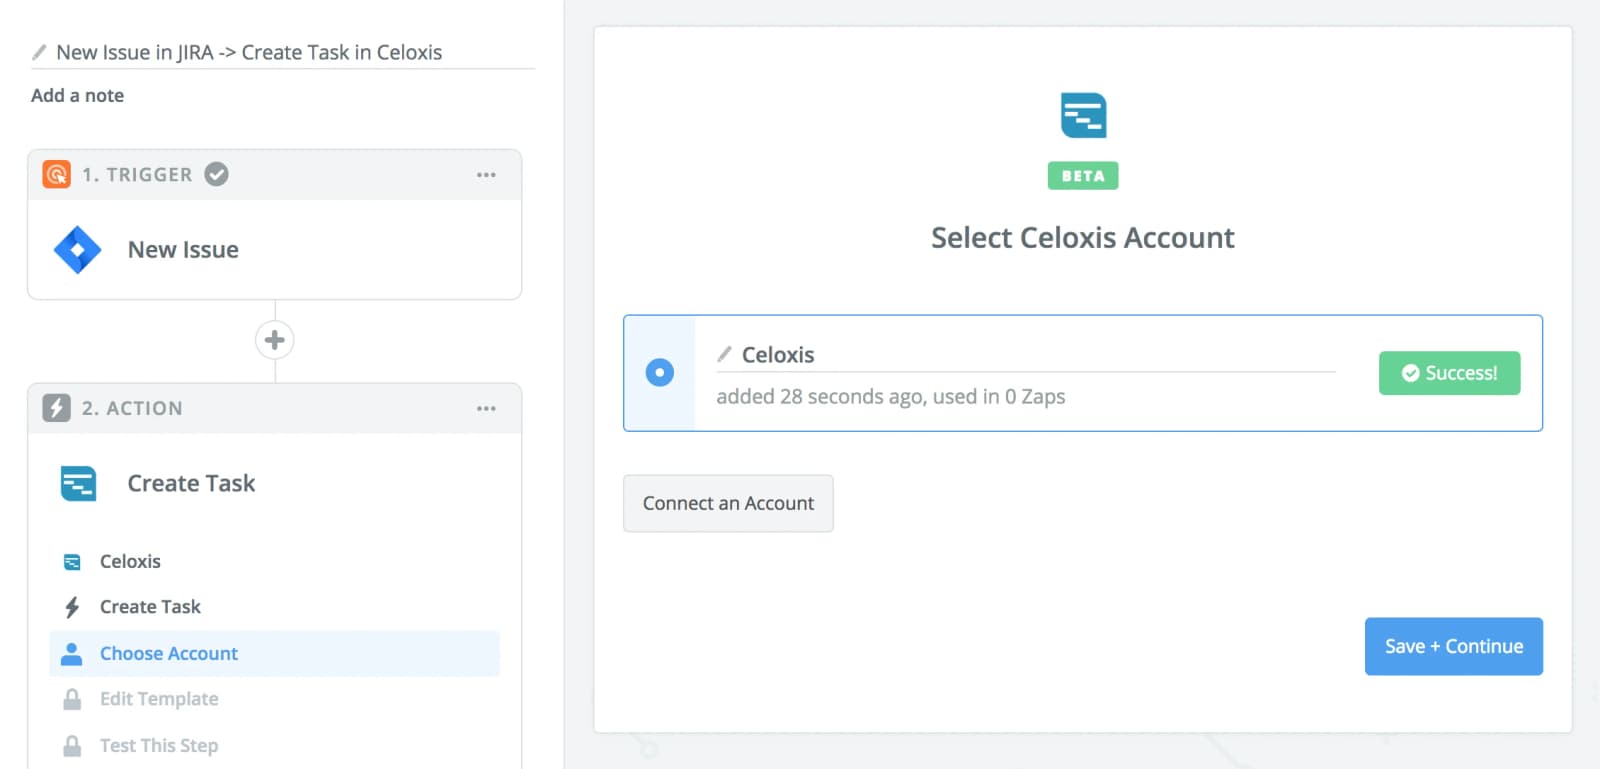
- Your connection is valid If invalid, enter the correct details and try again.
- Map Jira fields to Task fields The task that will be created in Celoxis will have fields as per the mapping you set. A sample mapping is shown below. The most important of them is the External Key field. This should be mapped to the Jira Key field. If you do not set this up, the 2nd zap will not work correctly. The rest of the mappings are straghtforward.

- Test this Zap This will create a task in Celoxis.
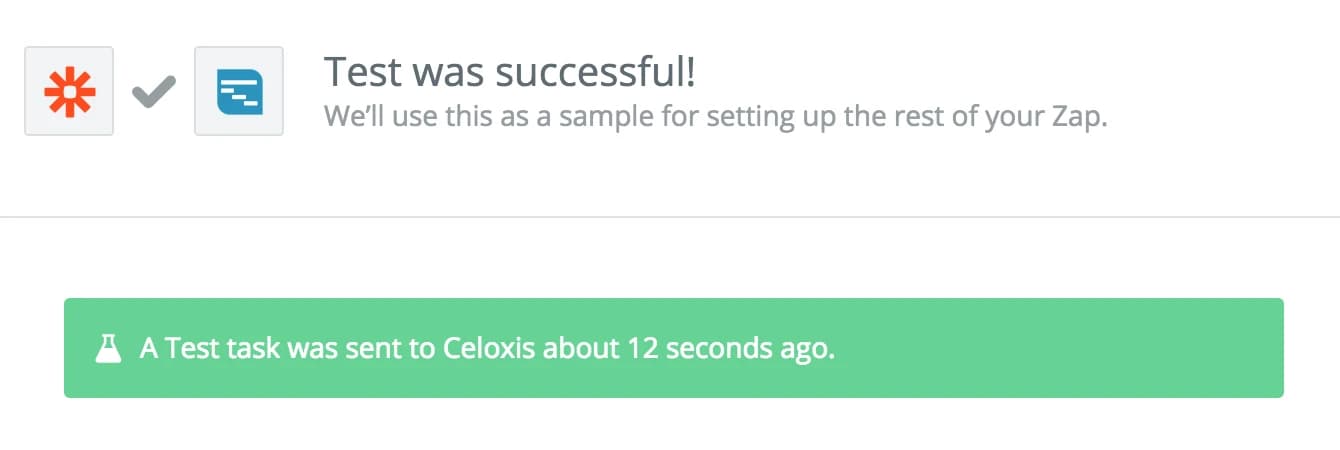
- Activez ce Zap

After you turn the Zap on, if issues are created in Jira in the project you selected, tasks will automatically be created in Celoxis based on the fields mapped above after 5-15 minutes depending on your plan with Zapier.
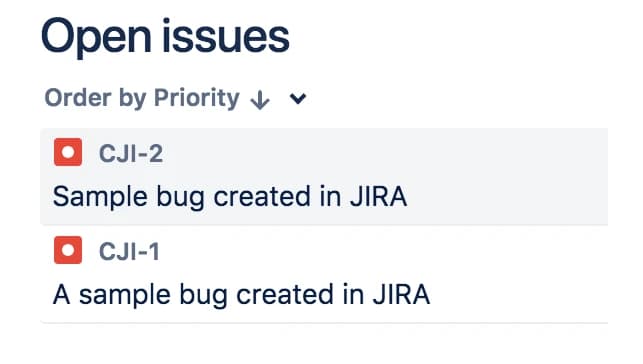
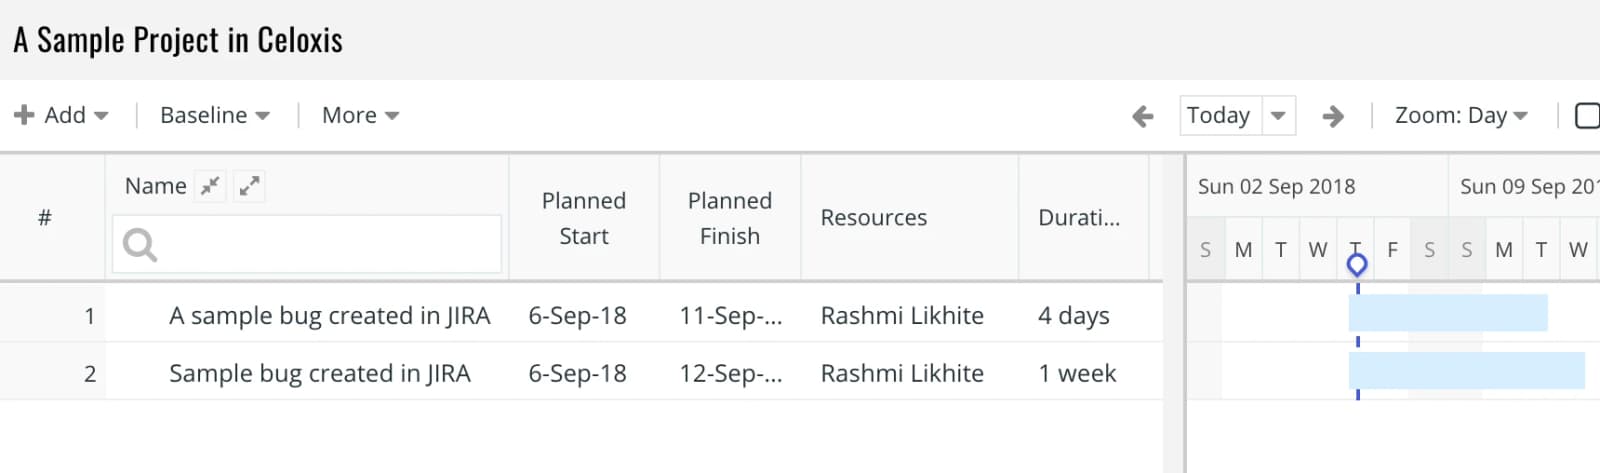
Zap #2 - Issue updated in Jira → Update task in Celoxis
- Faites un Zap
- Sélectionnez Jira comme application déclencheuse

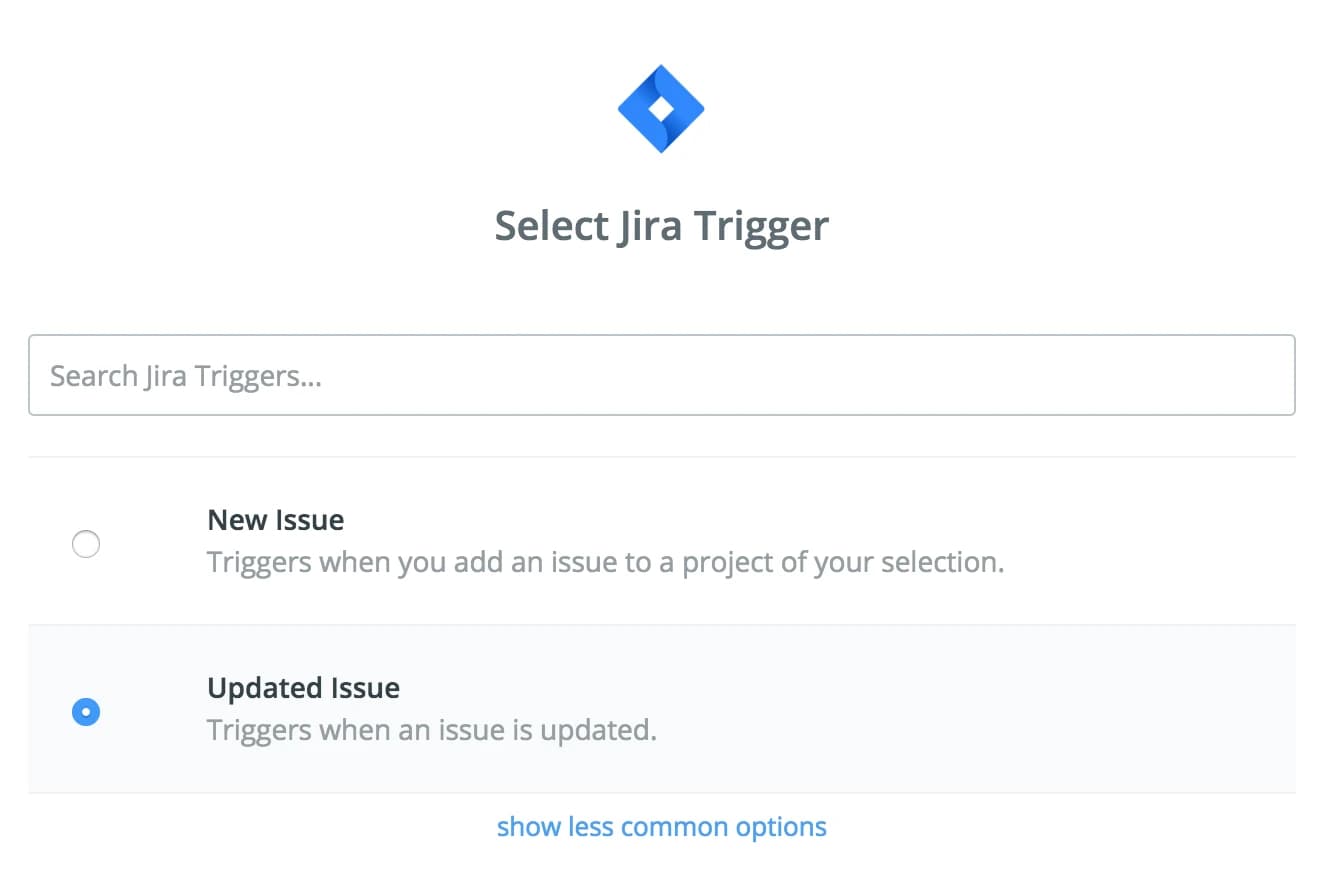
- Sélectionnez le déclencheur Jira « Problème mis à jour »
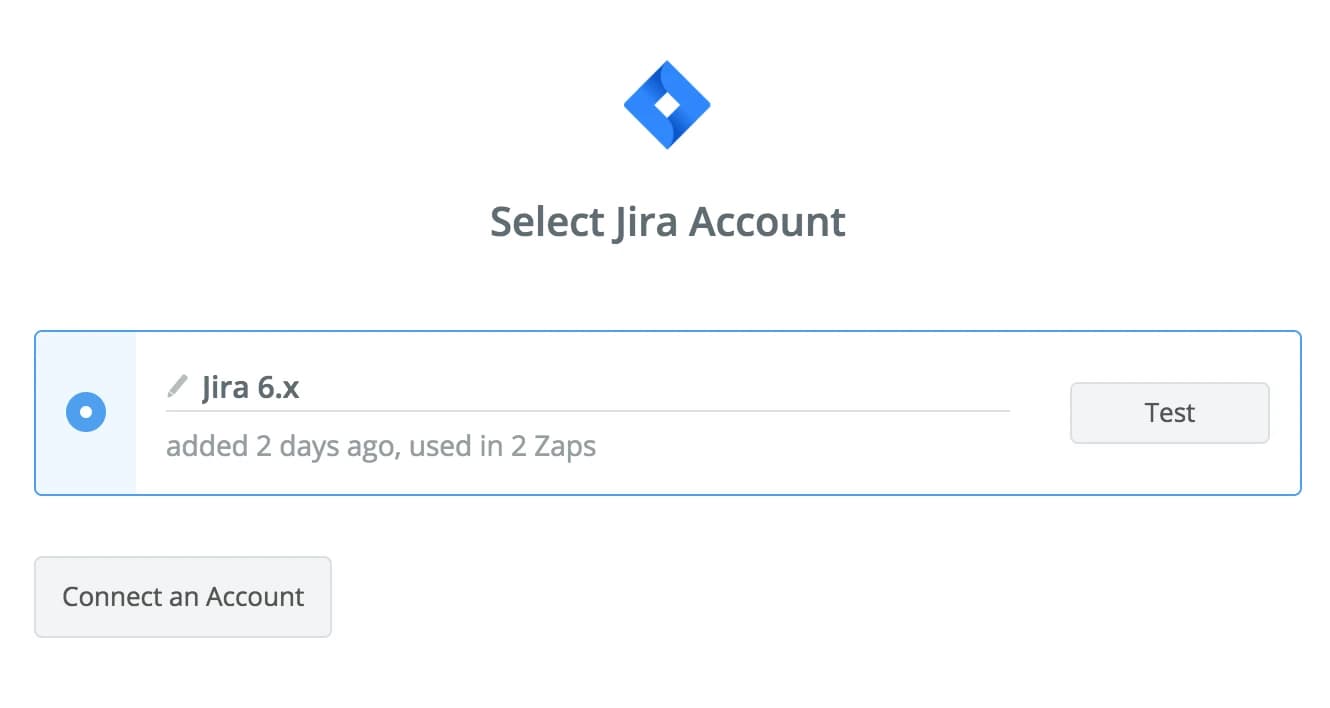
- Select Jira account If you have more than one connections, use the same account that your created for the first app.
- Select Jira project Select the same project that you selected in the first zap.
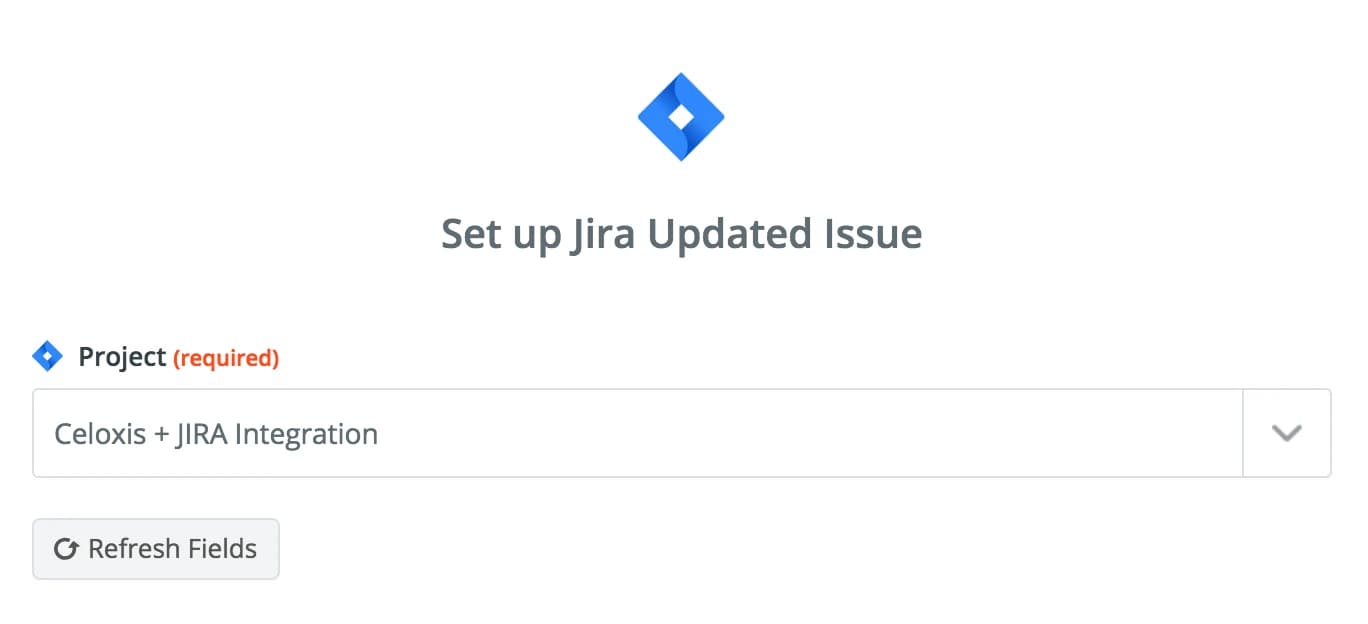
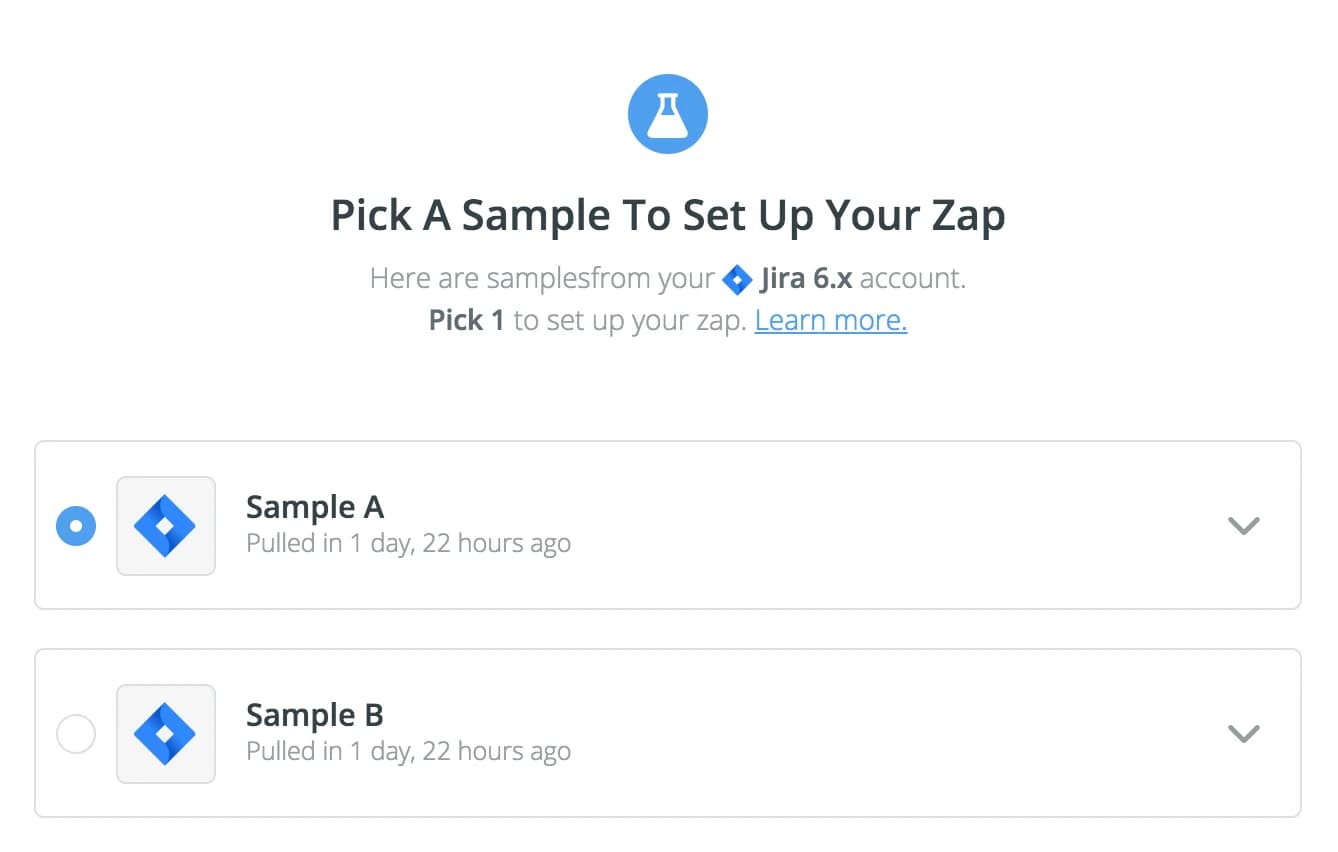
- Select Jira sample Select a sample issue. Its fields will be used in mapping later on.
- Sélectionnez Celoxis comme application d'action

- Sélectionnez l'action « Rechercher une tâche »

- Select Celoxis account Use the same connection that you used in the first zap.

- Use External Key Map the Clé externe field to the Jira Key field. This will help the Zap find the corresponding task in Celoxis.

- Tester l'action Rechercher une tâche
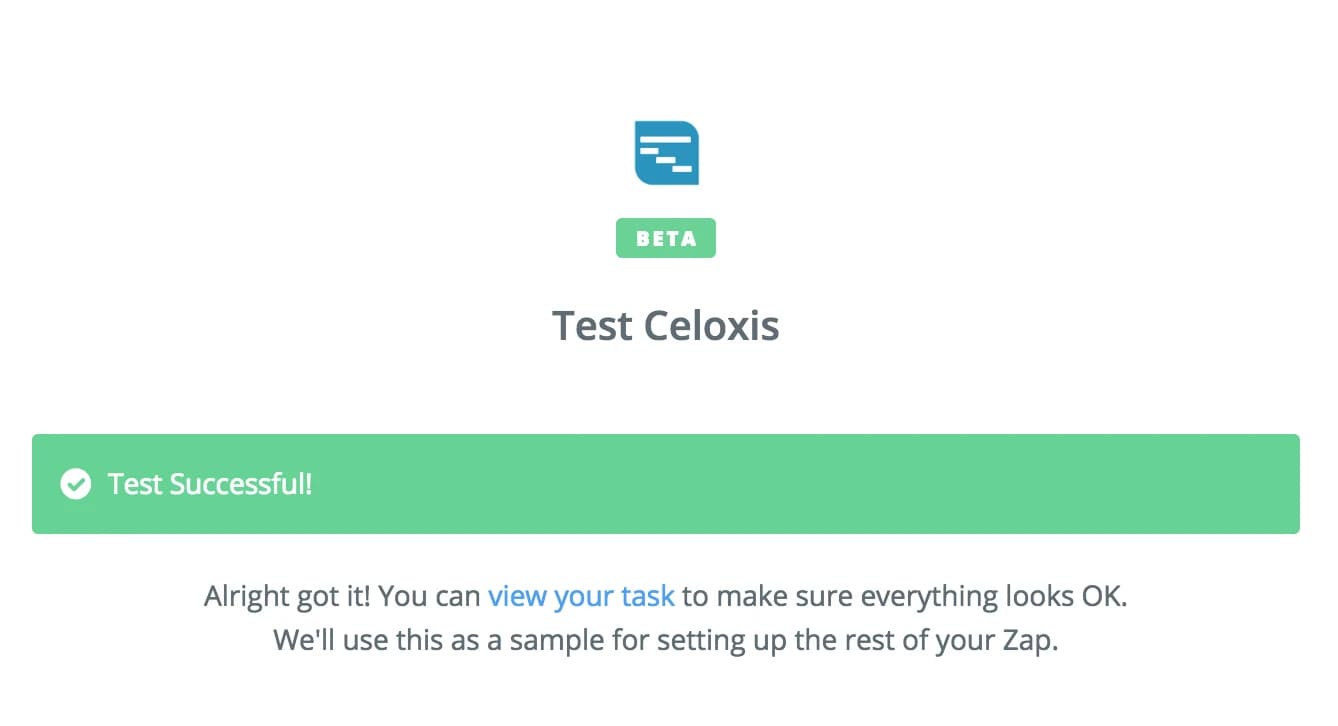
- Select Celoxis action app Now we will be updating the task in Celoxis.

- Sélectionnez l'action « Mettre à jour la tâche »
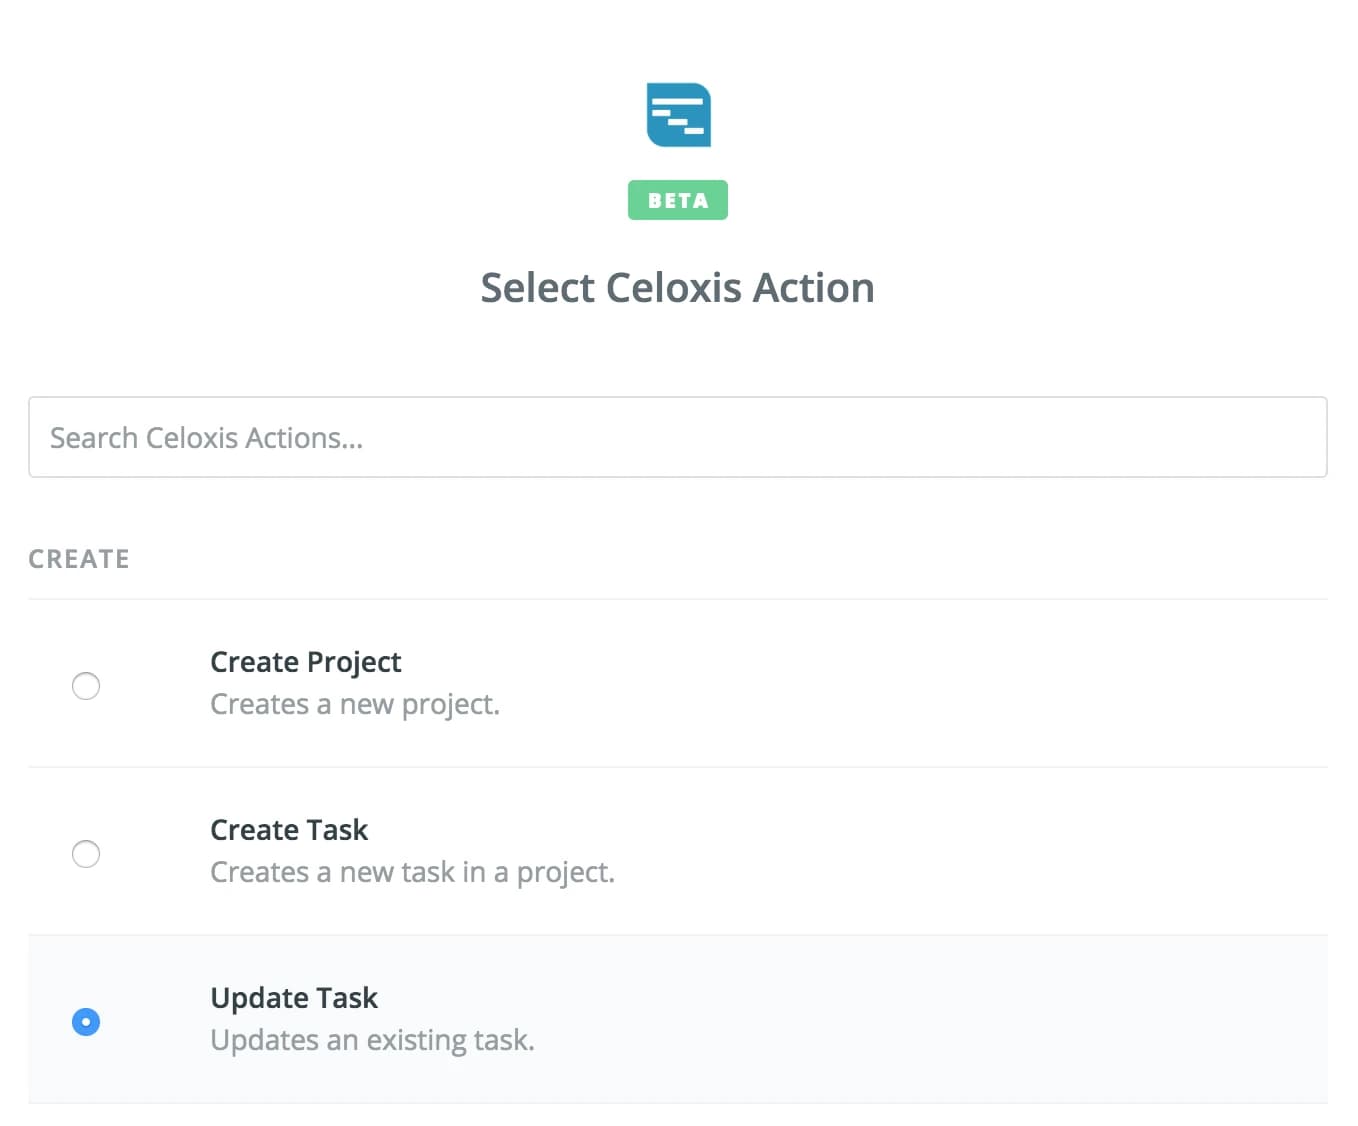
- Select Celoxis account Use the same connection that you used in the first zap.

- Map Fields Note how the task field is mapped to use the task found out in the previous step. Rest of the fields are used as a sample.

- Testez le Zap
- Activez le Zap

Now after an issue has been updated in the project selected in the above Zap, the corresponding task will be updated in Celoxis based on the fields mapped above after 5-15 minutes depending on your plan with Zapier.