
Jira-Integration mit Zapier
In vielen Organisationen ist Jira immer noch die wichtigste Software für Entwickler, während Projektmanager und PMO eine Projektmanagement-Software nutzen und gleichzeitig den Überblick über die Ressourcenauslastung behalten wollen.
Durch diese Integration können Sie in Celoxis automatisch Aufgaben erstellen, sobald in Jira Vorgänge angelegt werden. Ebenso werden die entsprechenden Aufgaben in Celoxis automatisch aktualisiert, wenn Vorgänge in Jira aktualisiert werden.
Zapier
Celoxis lässt sich mithilfe von Zapier in Jira und viele andere Anwendungen integrieren. Zapier ist ein Cloud-basierter Dienst, mit dem Sie leistungsstarke Integrationen zwischen verschiedenen Systemen erstellen können, ohne Code schreiben zu müssen. Weitere Informationen finden Sie auf der Website: zapier.com.
Zap
Eine Automatisierung in Zapier wird als Zap bezeichnet. Ein Zap verbindet zwei Apps – eine Trigger-App und eine Aktions-App. Die Trigger-App benachrichtigt den Zap über ein Ereignis, woraufhin der Zap eine Aktion in der Aktions-App ausführt. In unserem Fall ist die Trigger-App Jira, da sie unseren Zap benachrichtigt, sobald ein Vorgang erstellt oder aktualisiert wird. Die Aktions-App ist in unserem Fall Celoxis, da unser Zap dort Aufgaben erstellt und aktualisiert. In dieser Anleitung erstellen wir zwei Zaps:
- Zap #1 — Wenn ein Vorgang in Jira erstellt wird, wird eine Aufgabe in Celoxis erstellt.
- Zap #2 — Wenn ein Vorgang in Jira aktualisiert wird, wird die entsprechende Aufgabe in Celoxis aktualisiert.
Schauen wir uns an, wie Jira, Zapier und Celoxis zusammenpassen:
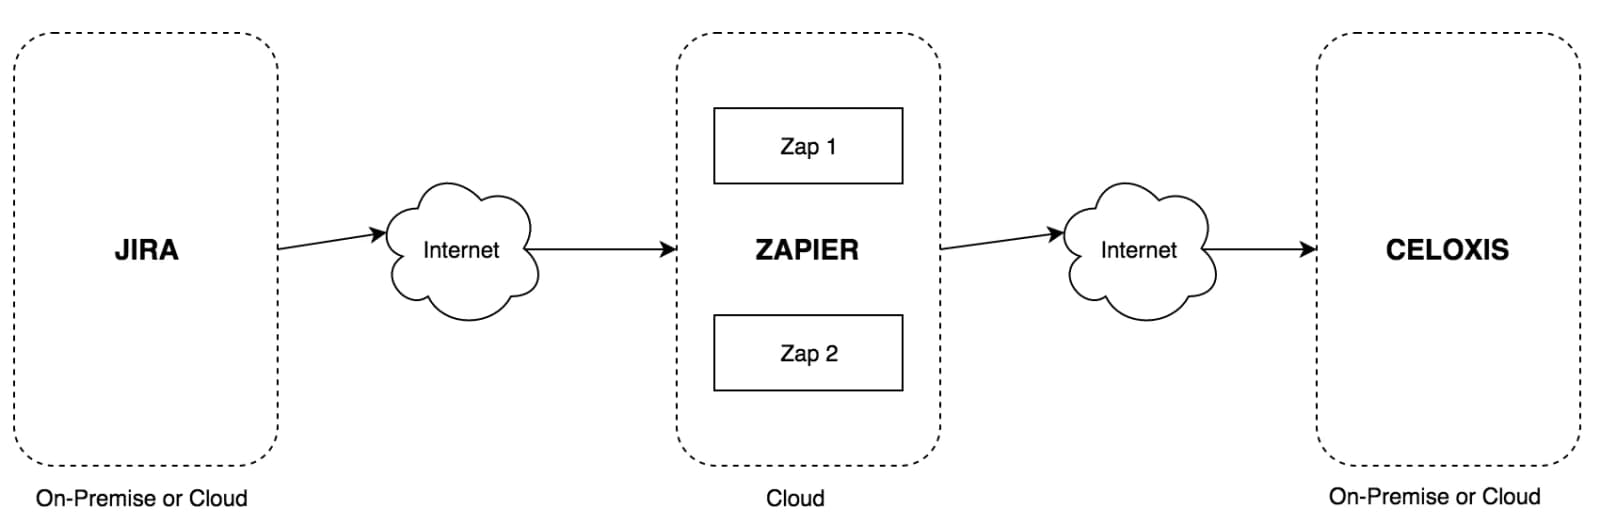
Aus dem obigen Diagramm geht hervor, dass Jira und Celoxis sogar in unserem Intranet laufen können, sofern sie über einen Internetzugang verfügen. Möglicherweise lässt sich der Internetzugang auch ausschließlich über Zapier konfigurieren.
Zap #1 – New issue in Jira → Create task in Celoxis
- Erstellen Sie einen Zap

- Wählen Sie Jira als Auslöser-App aus
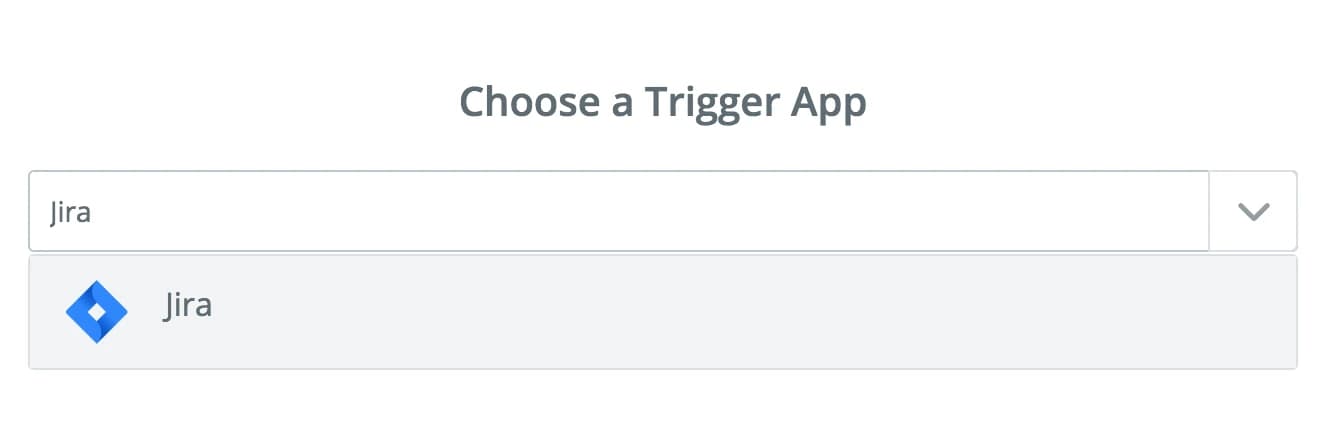
- Wählen Sie den Jira-Trigger „Neues Ticket“ aus

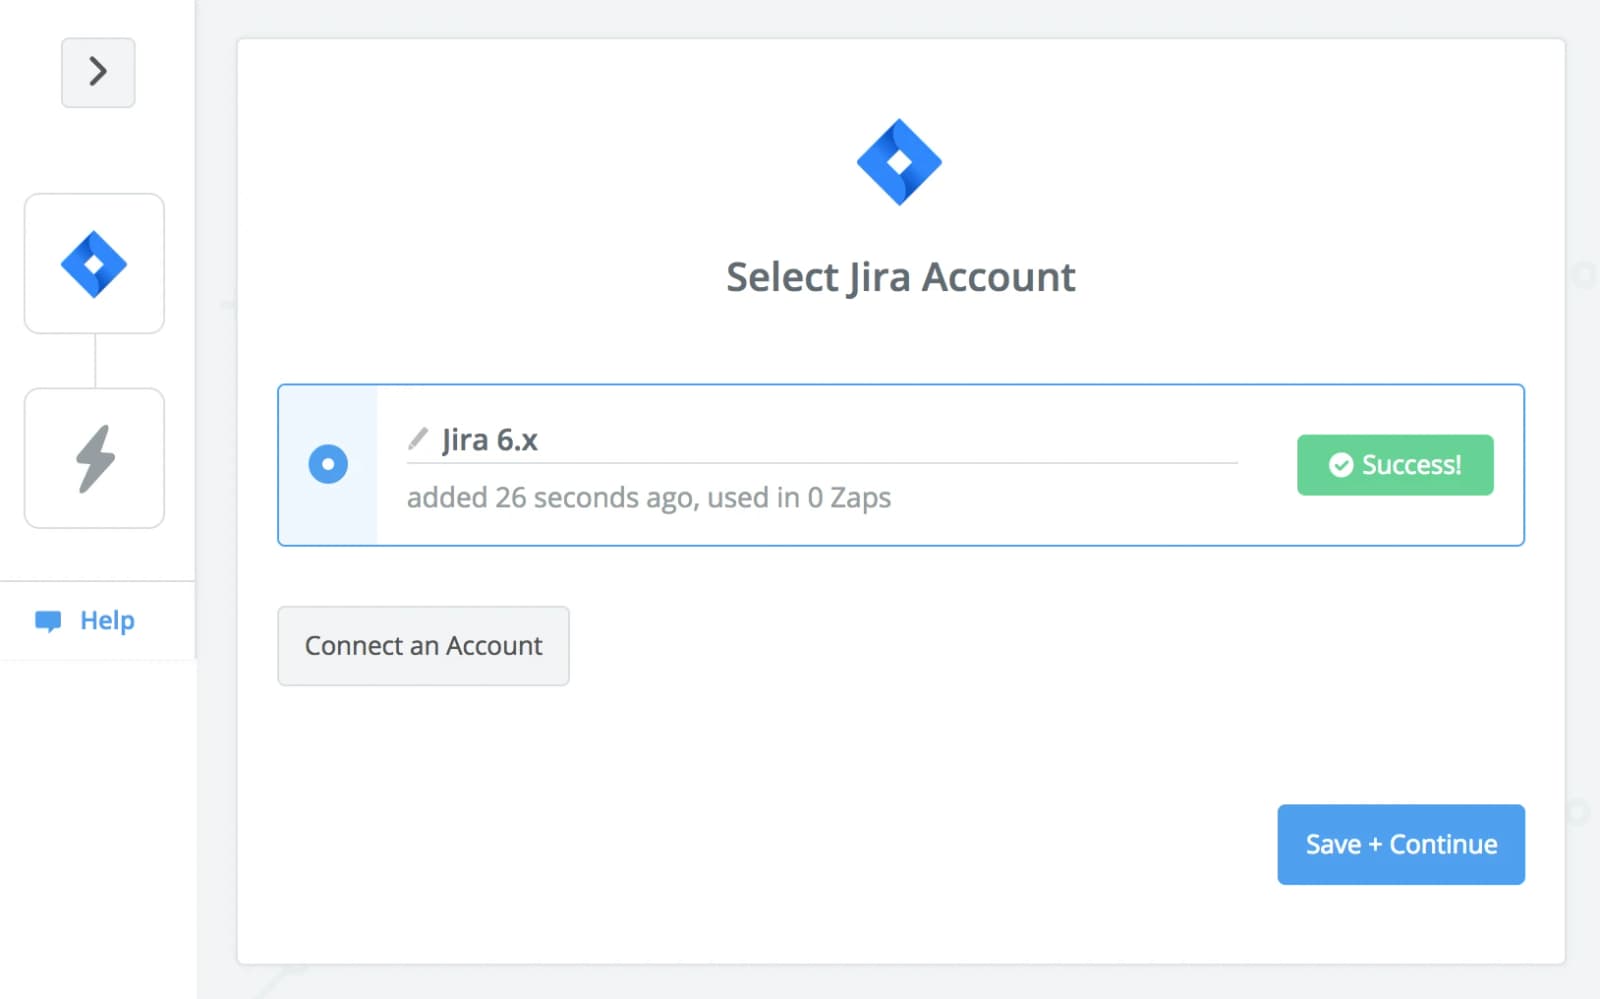
- Connect with Jira If you use Zapier and have connected with Jira, you can use that account. Otherwise, click on Connect an Account to create a new connection with Jira.

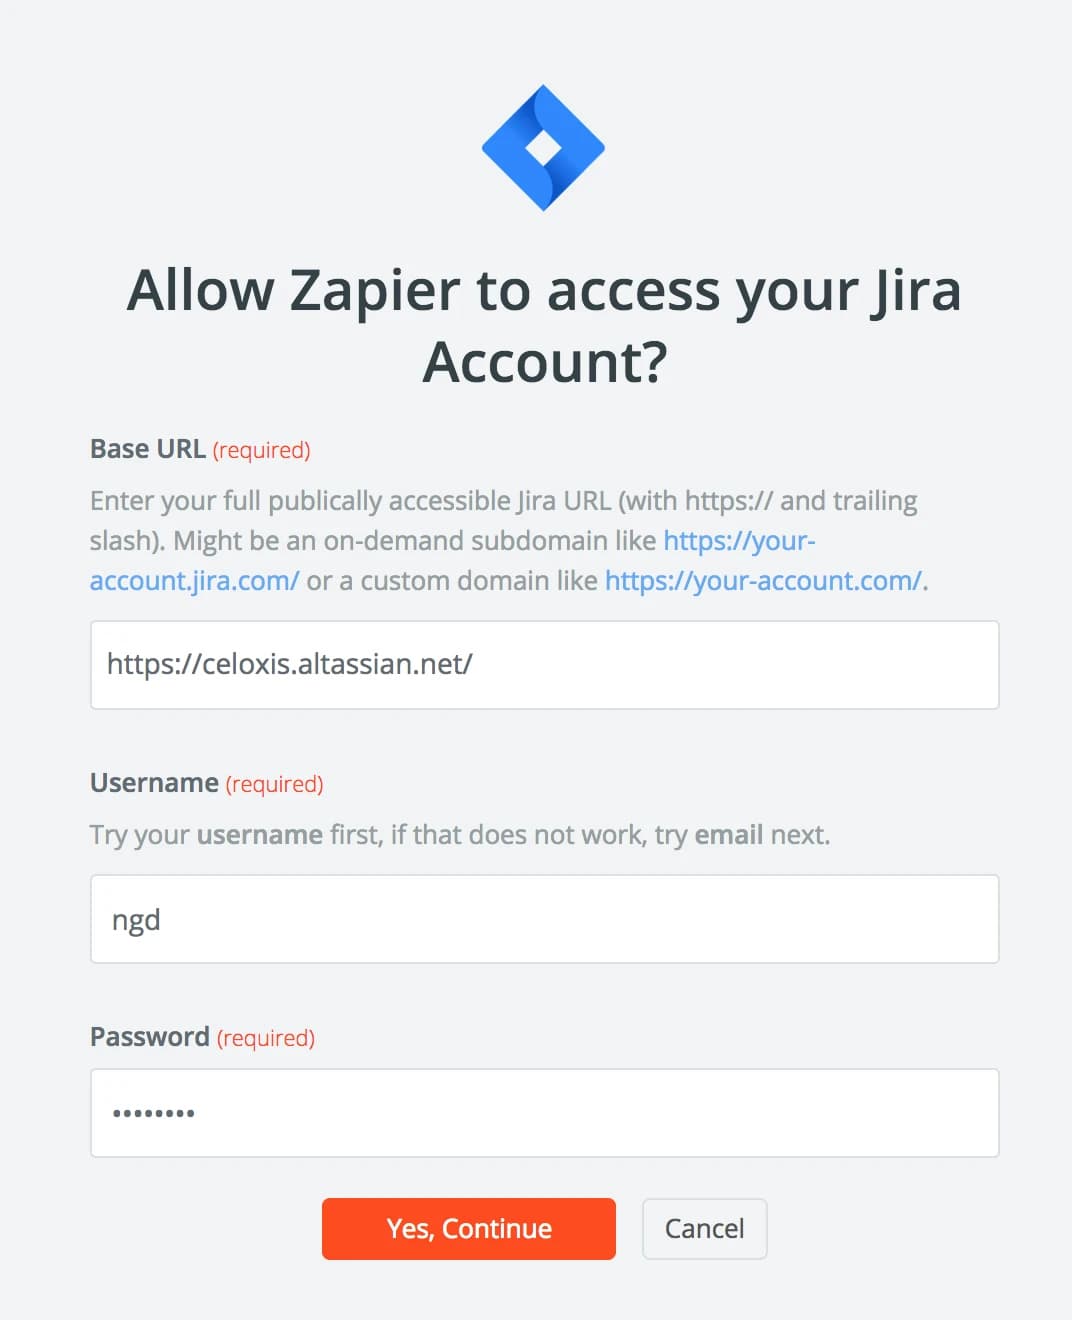
- Geben Sie Ihre Jira-Zugangsdaten ein Notice the forward slash at the end of the Base Url.
- Test your newly added connection Click on the Test button to verify the validity of the credentials.
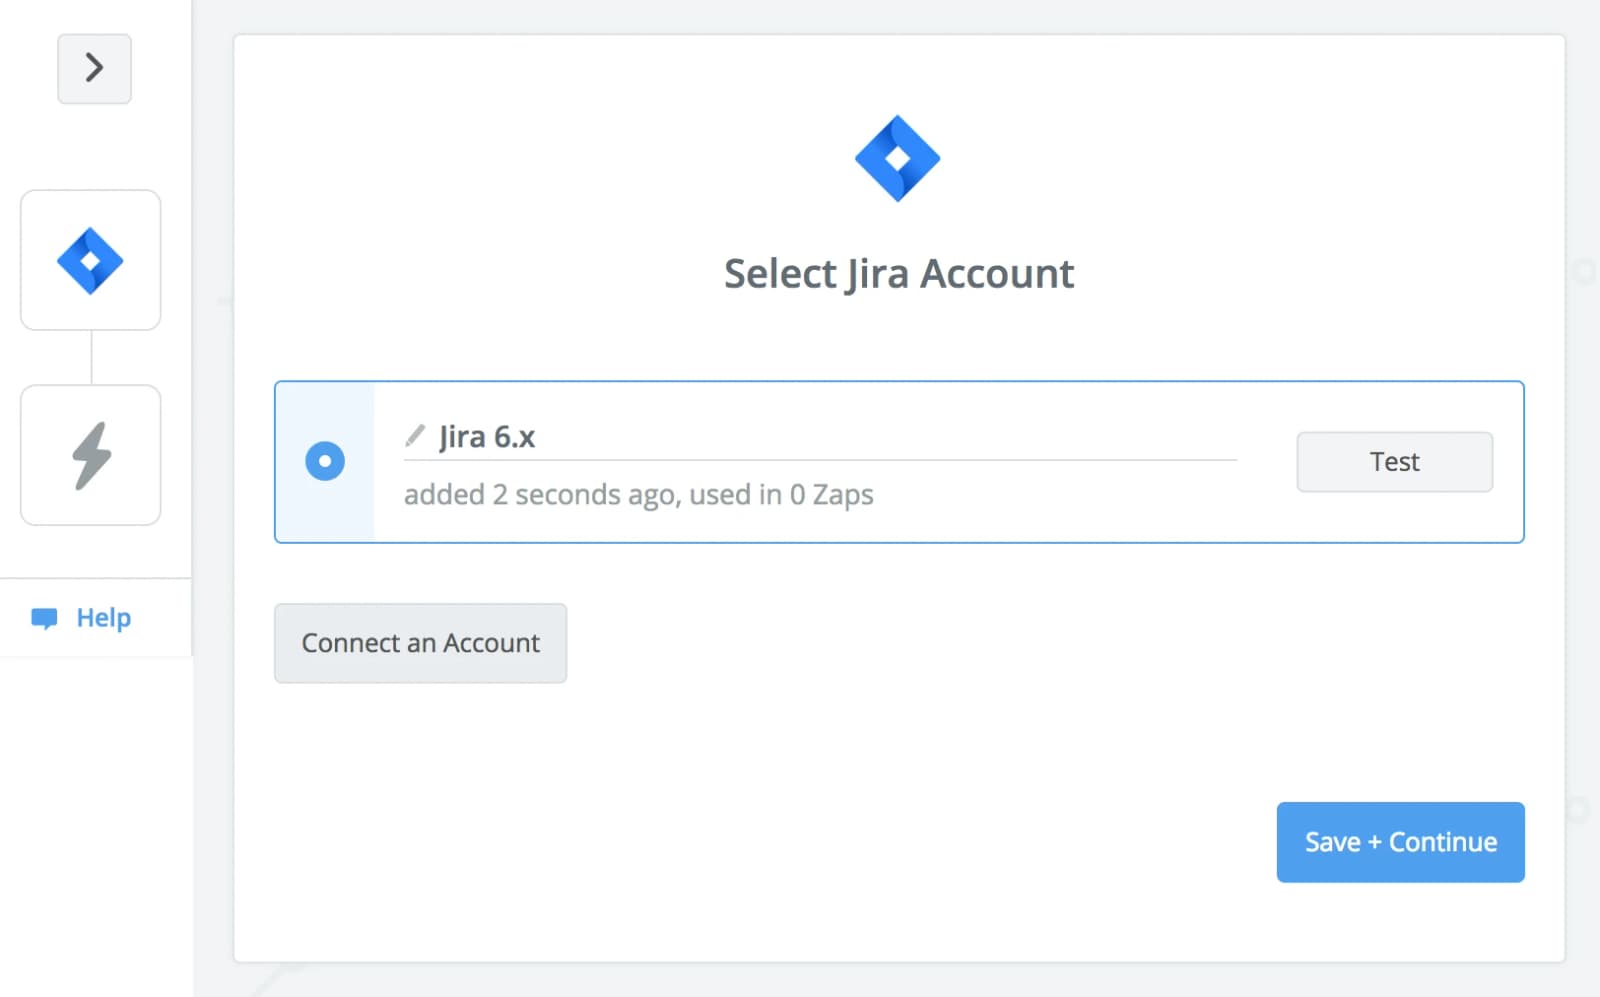
- You connection is valid If invalid, enter the correct details and try again.
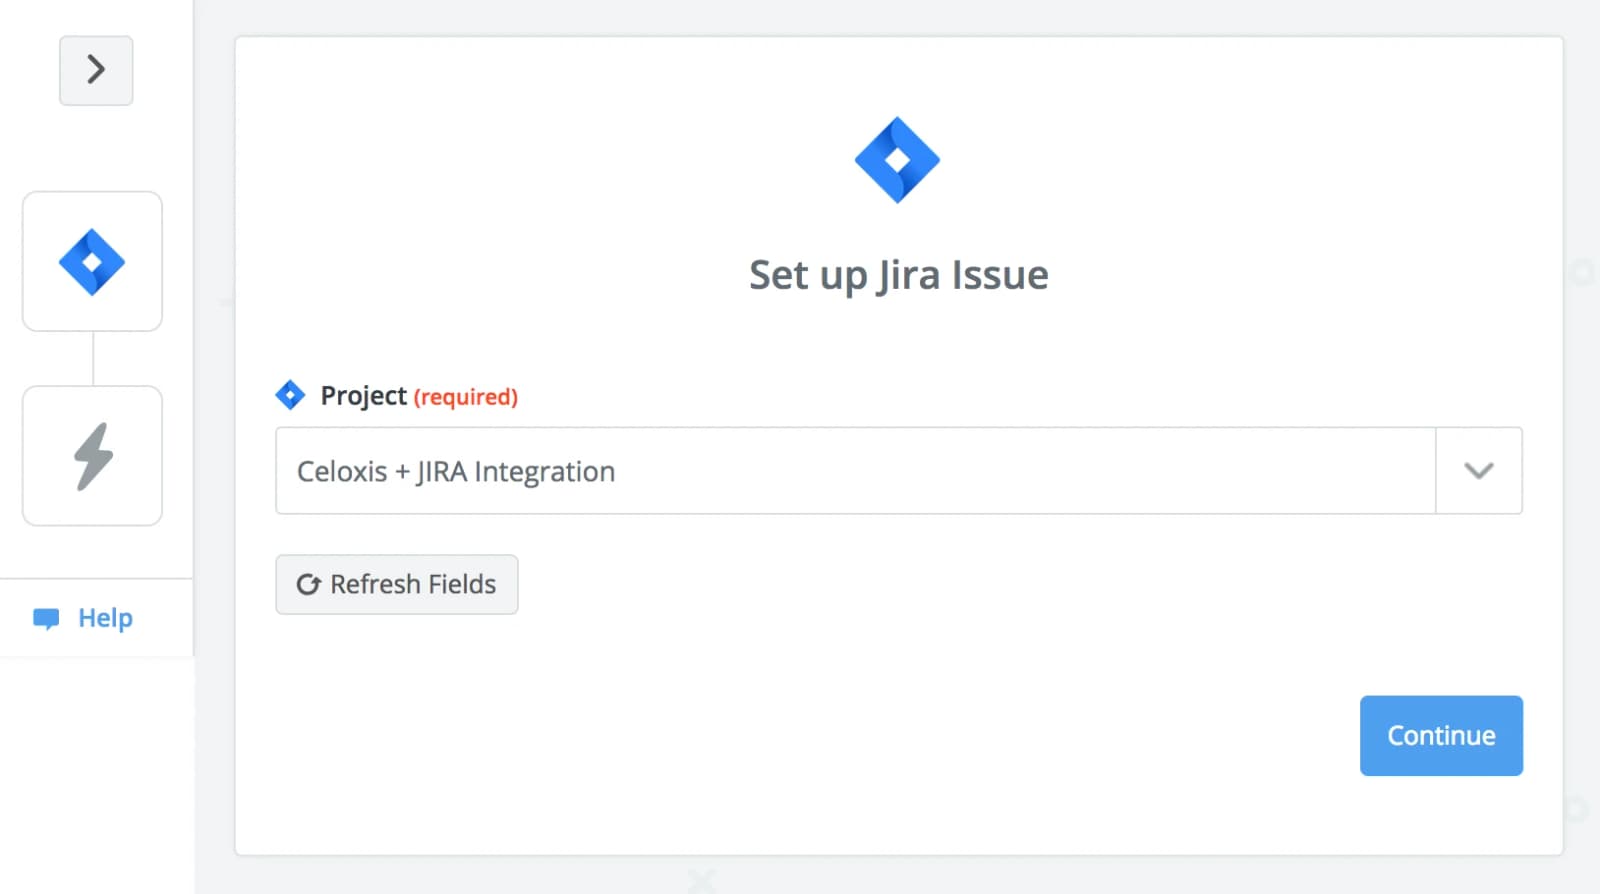
- Select a Jira project Only issues in this project will be monitored by this Zap.
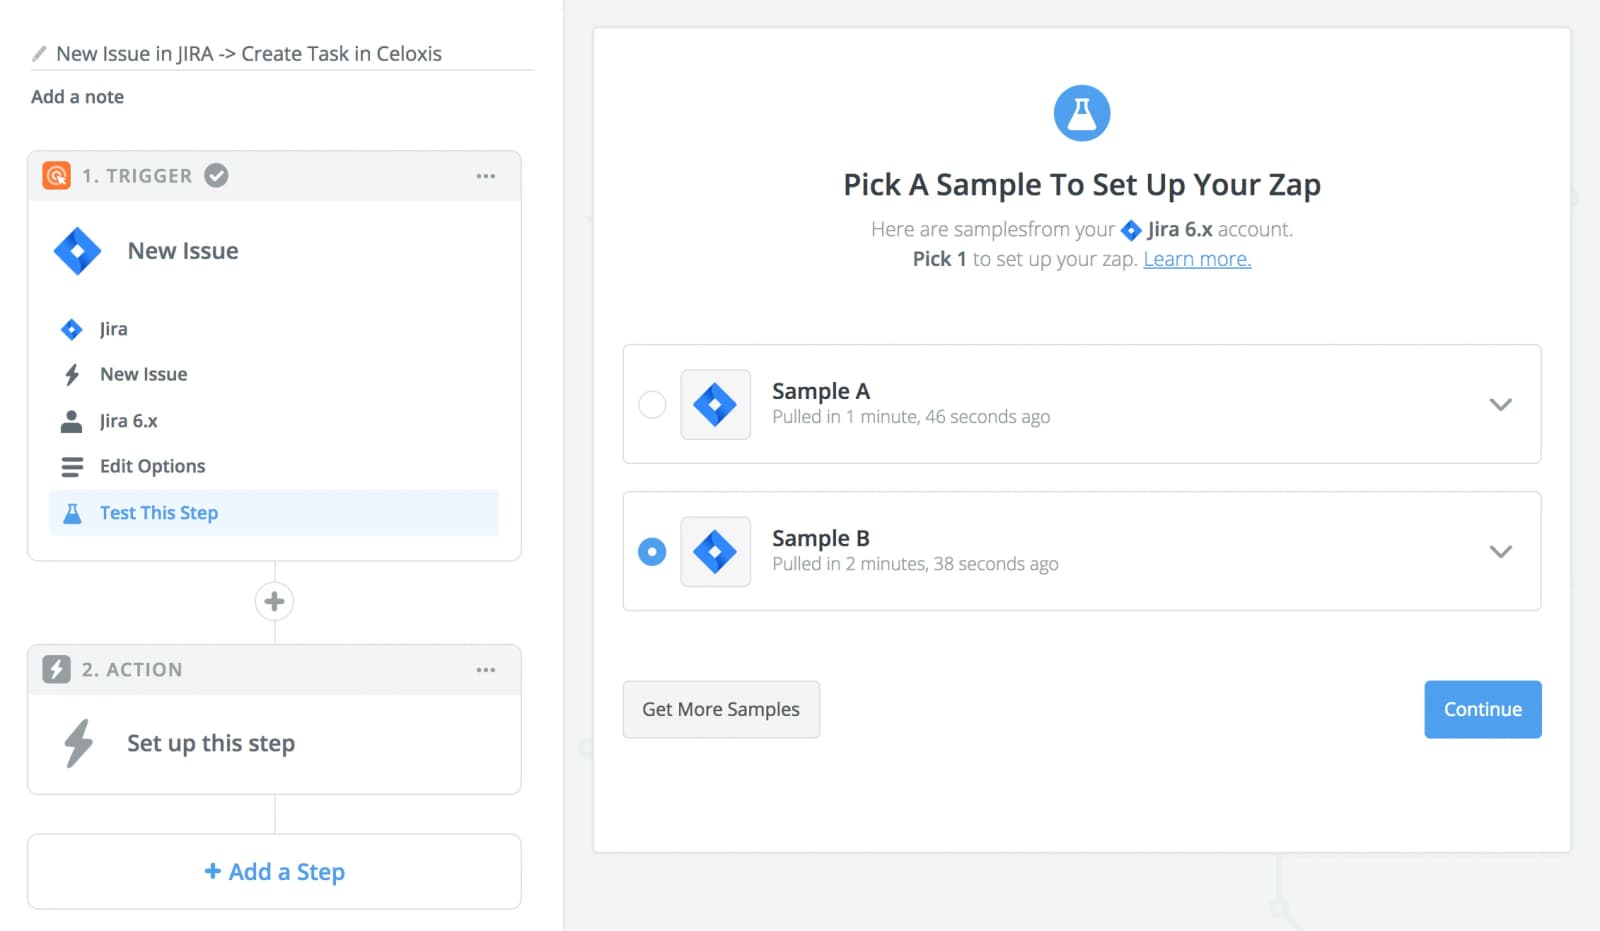
- Pick a Jira sample Pick a sample issue with the most details. The fields in this sample issue will be helpful later on.
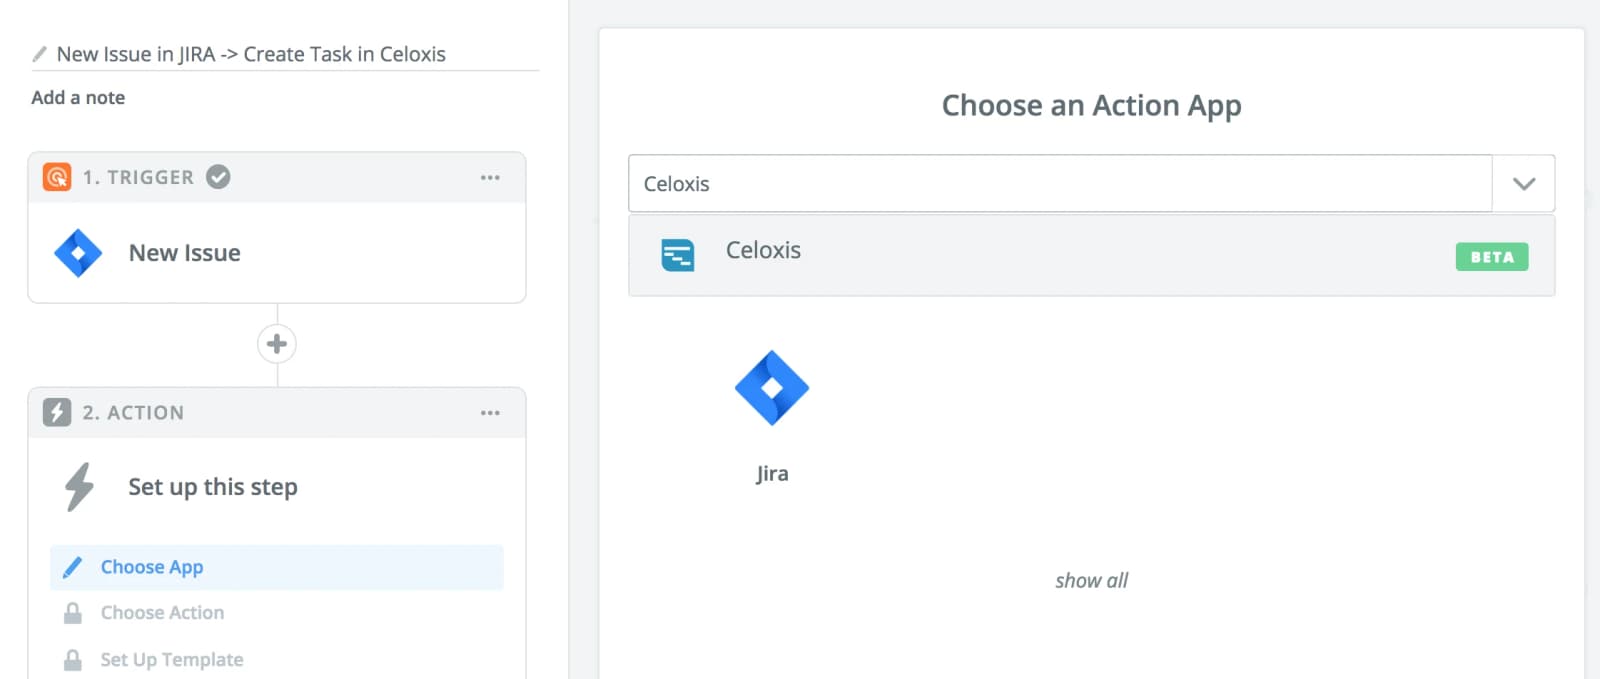
- Wählen Sie Celoxis als Aktions-App
- Wählen Sie die Aktion „Aufgabe erstellen“ aus

- Connect with Celoxis Click on Connect an Account to enter your connection details.

- Enter your connection details Use your Celoxis API key or generate a new API key. To generate an API key, please read the Zapier Authentication section.
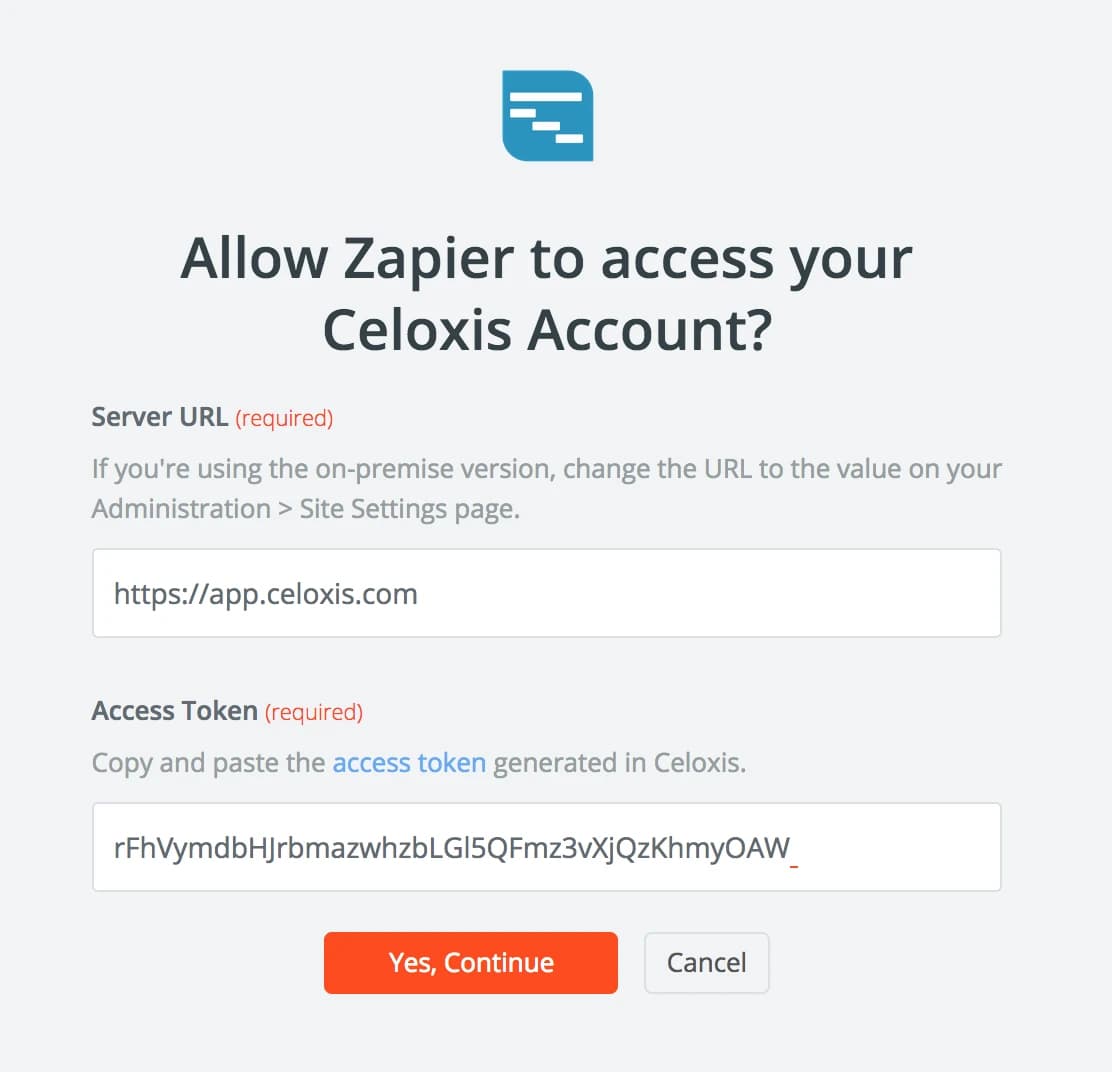
- Test the newly added connection Click on the Test button to verify the validity of the credentials.
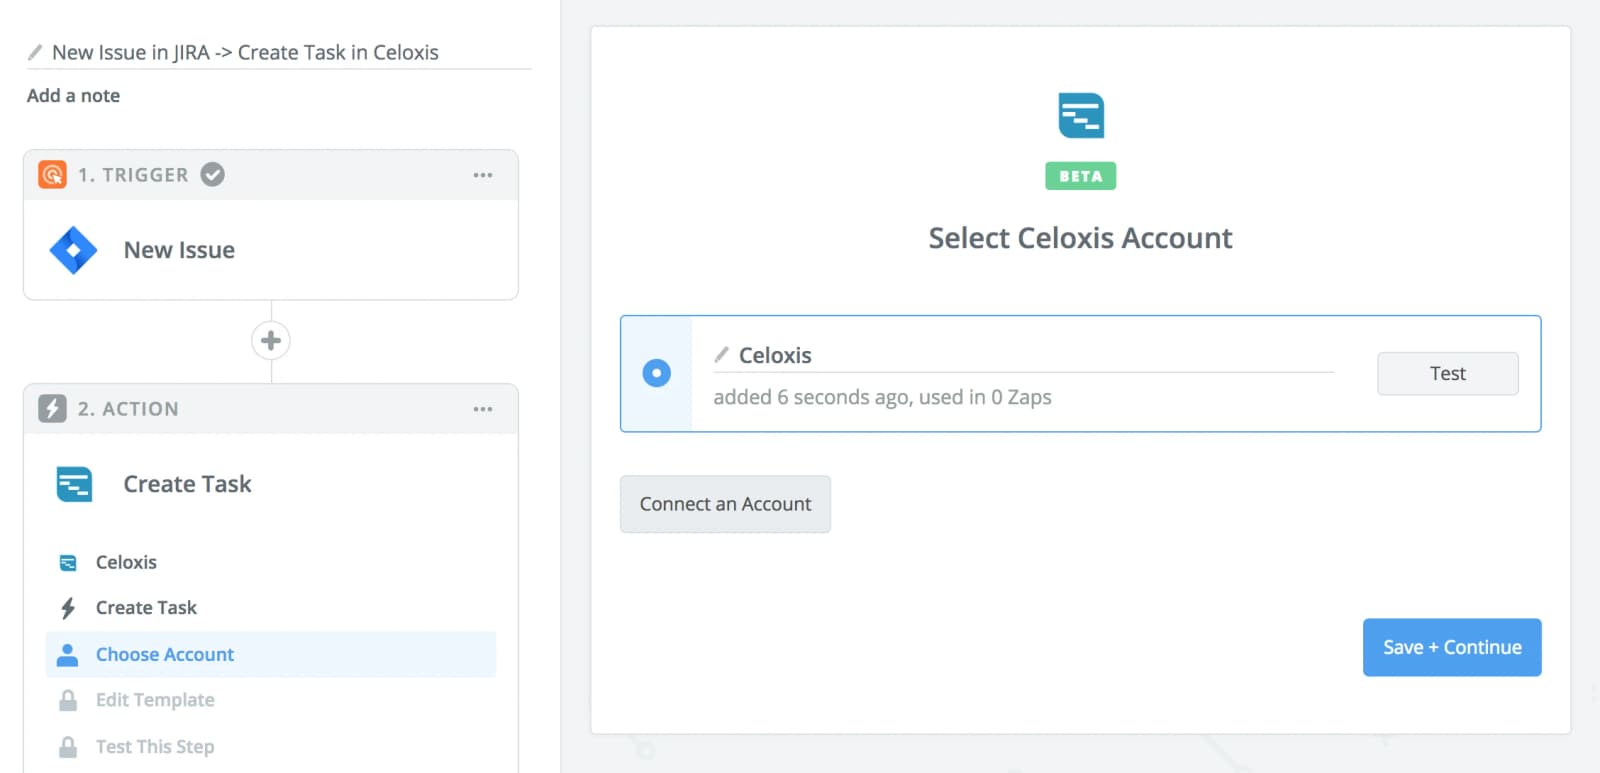
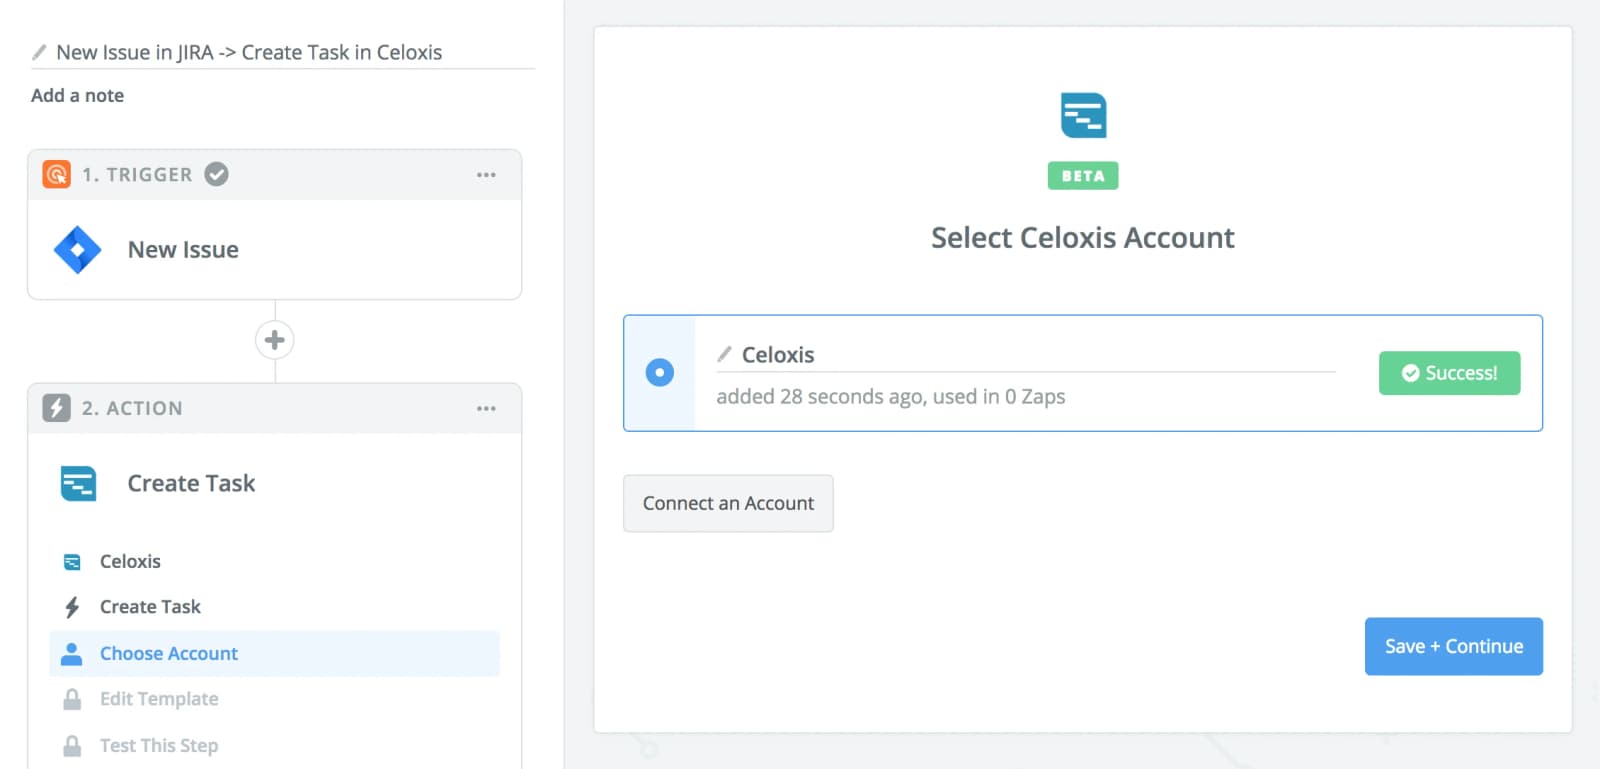
- Your connection is valid If invalid, enter the correct details and try again.
- Map Jira fields to Task fields The task that will be created in Celoxis will have fields as per the mapping you set. A sample mapping is shown below. The most important of them is the External Key field. This should be mapped to the Jira Key field. If you do not set this up, the 2nd zap will not work correctly. The rest of the mappings are straghtforward.

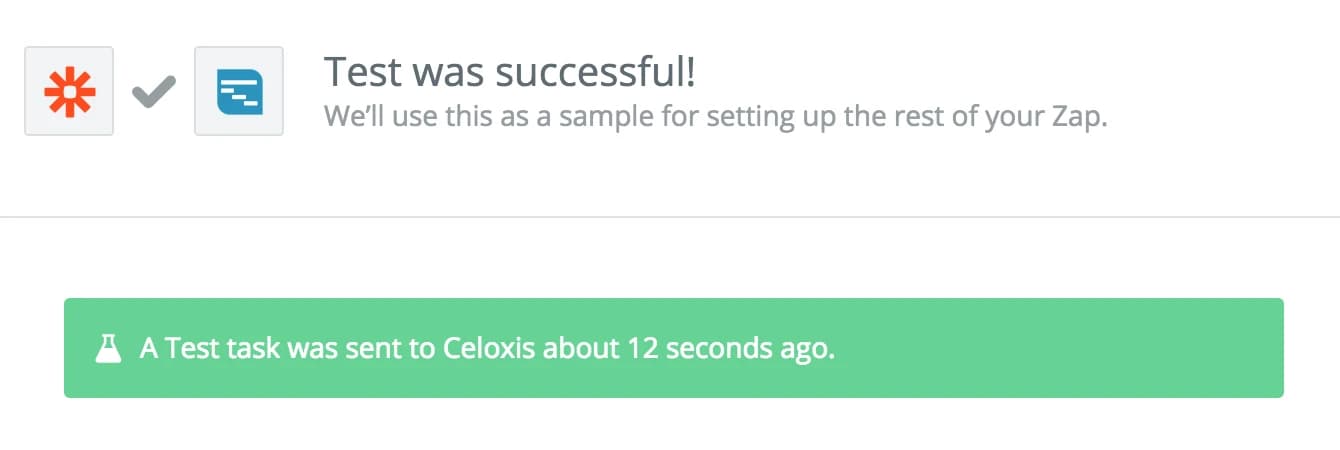
- Test this Zap This will create a task in Celoxis.
- Schalten Sie diesen Zap ein

After you turn the Zap on, if issues are created in Jira in the project you selected, tasks will automatically be created in Celoxis based on the fields mapped above after 5-15 minutes depending on your plan with Zapier.
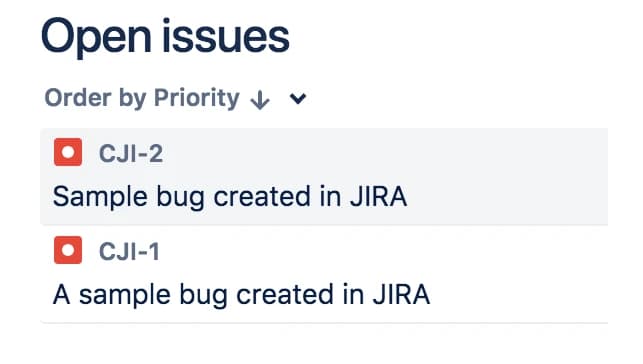
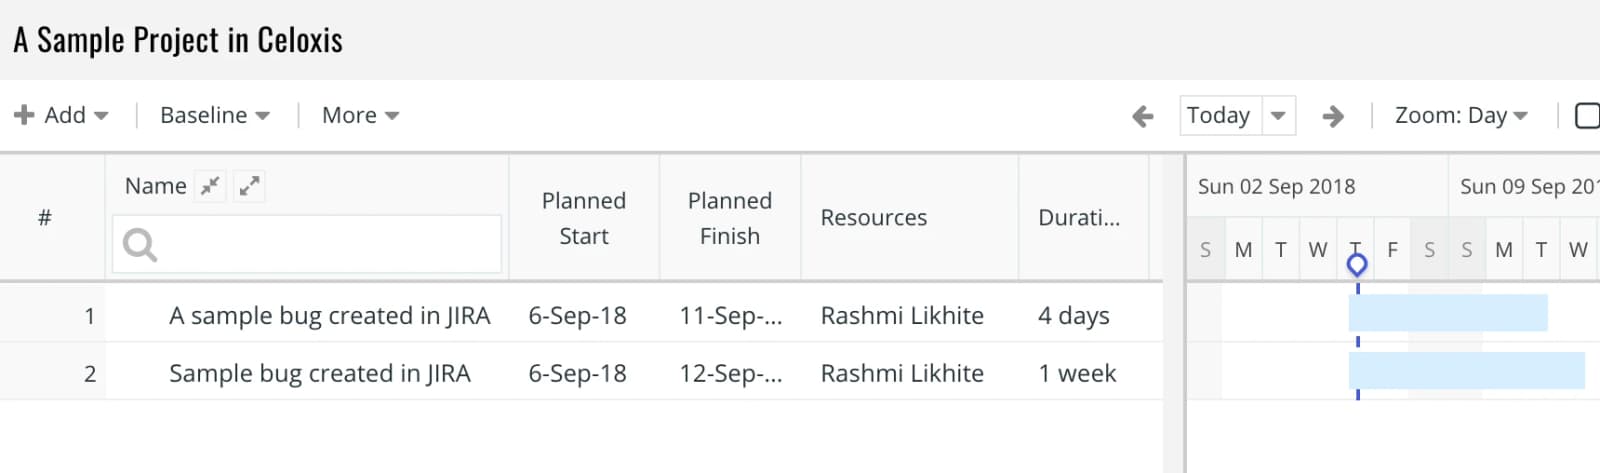
Zap #2 - Issue updated in Jira → Update task in Celoxis
- Erstellen Sie einen Zap
- Wählen Sie Jira als Auslöser-App aus

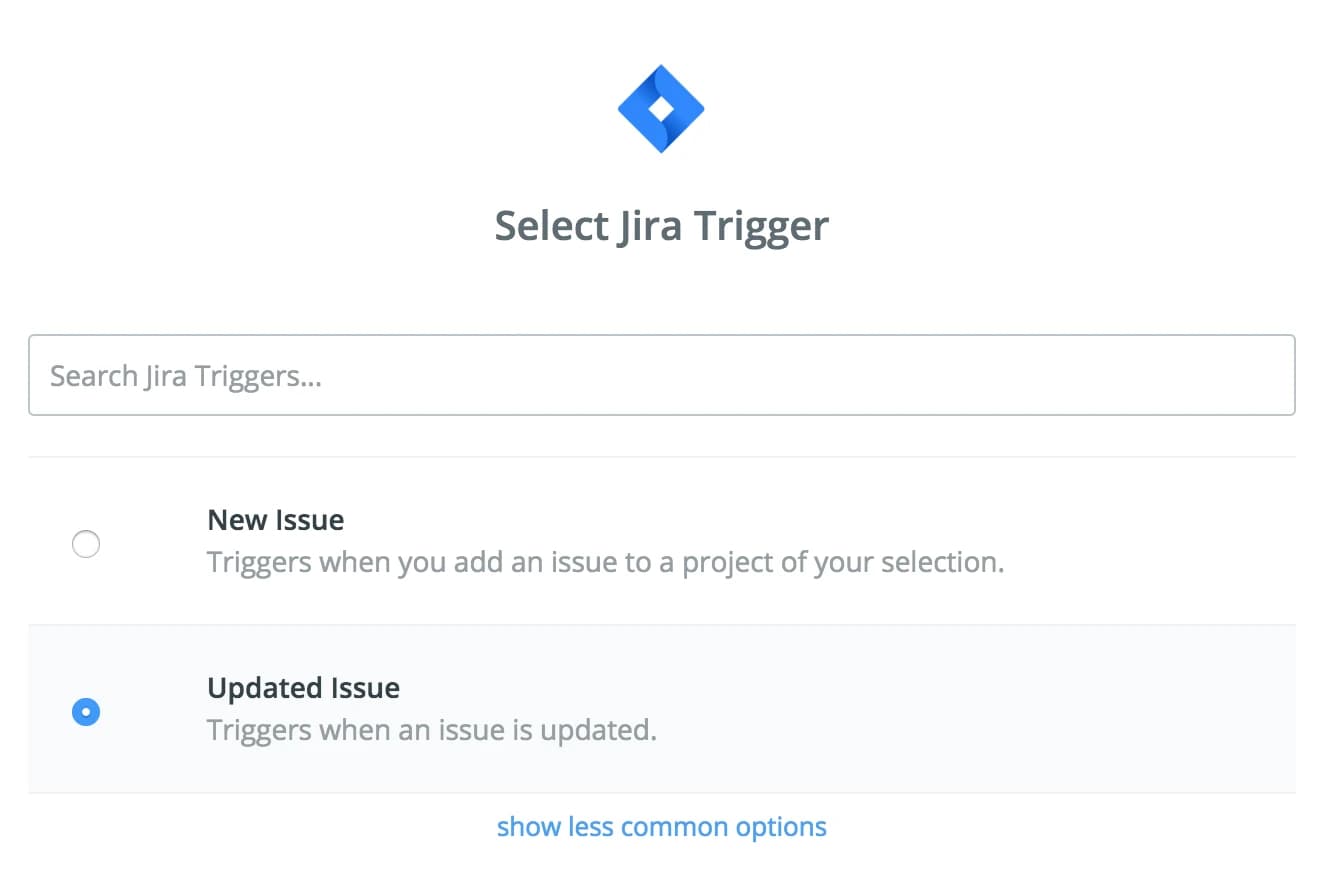
- Wählen Sie den Jira-Trigger „Aktualisiertes Ticket“ aus
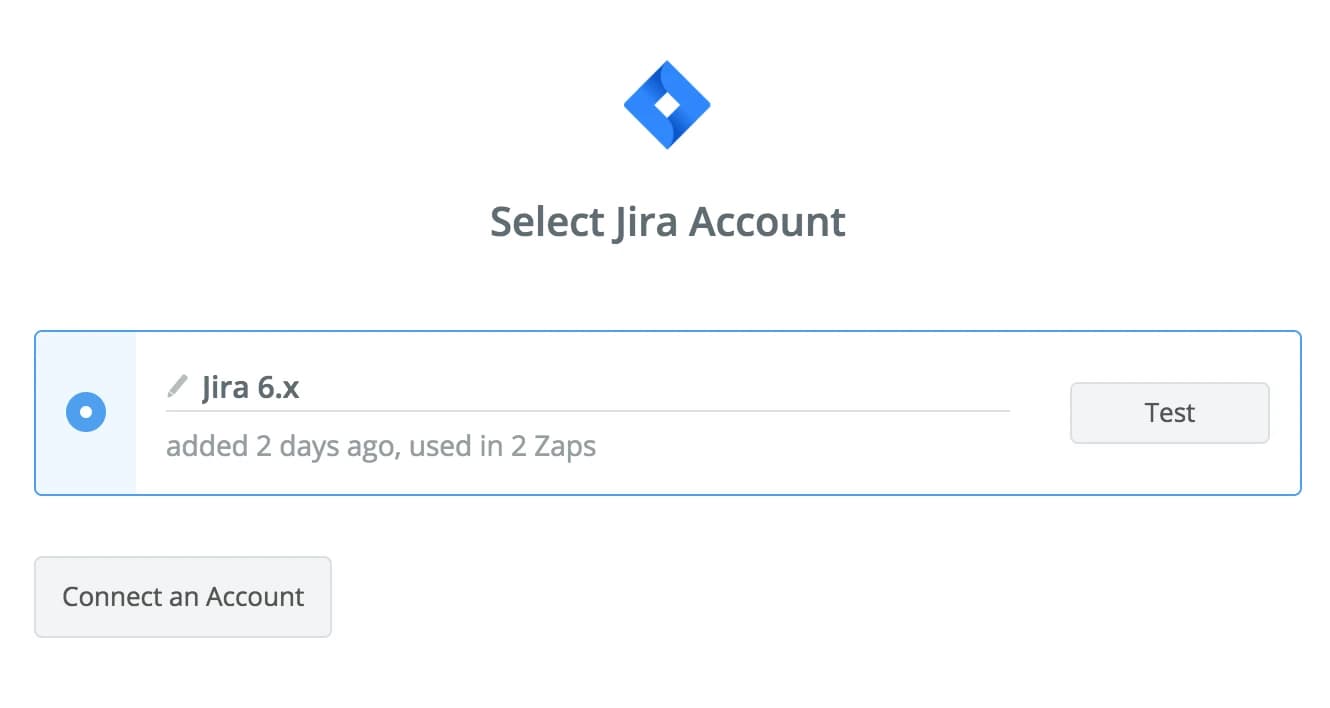
- Select Jira account If you have more than one connections, use the same account that your created for the first app.
- Select Jira project Select the same project that you selected in the first zap.
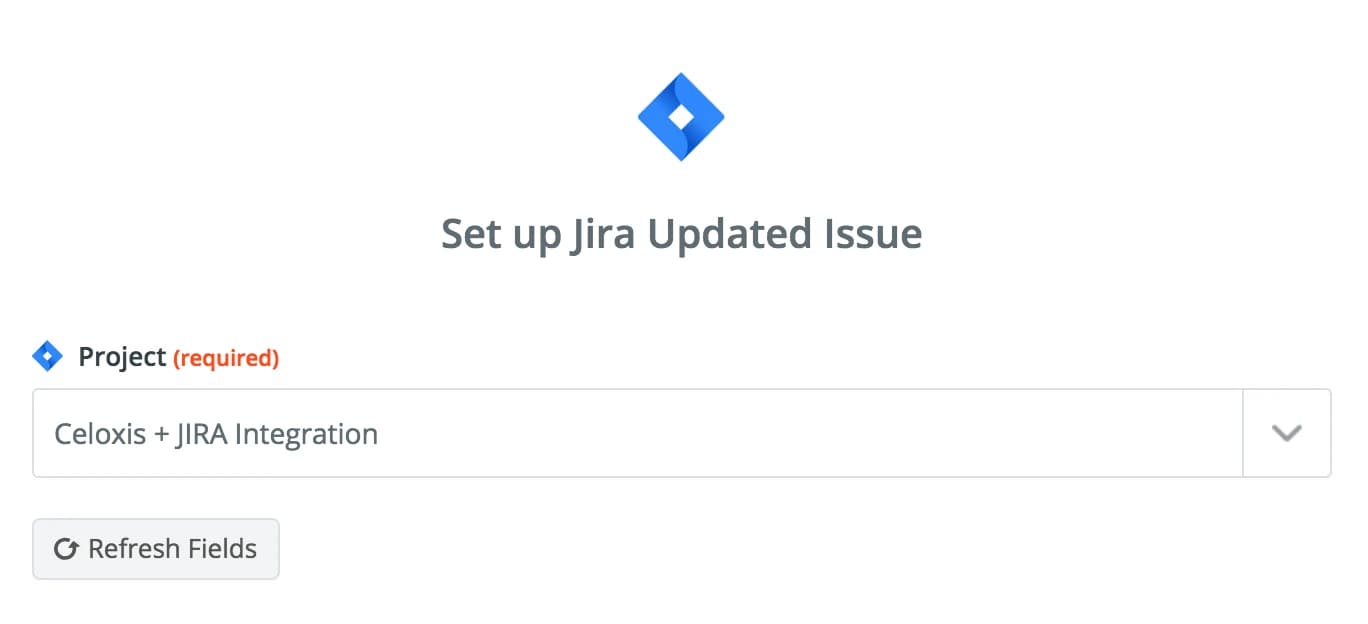
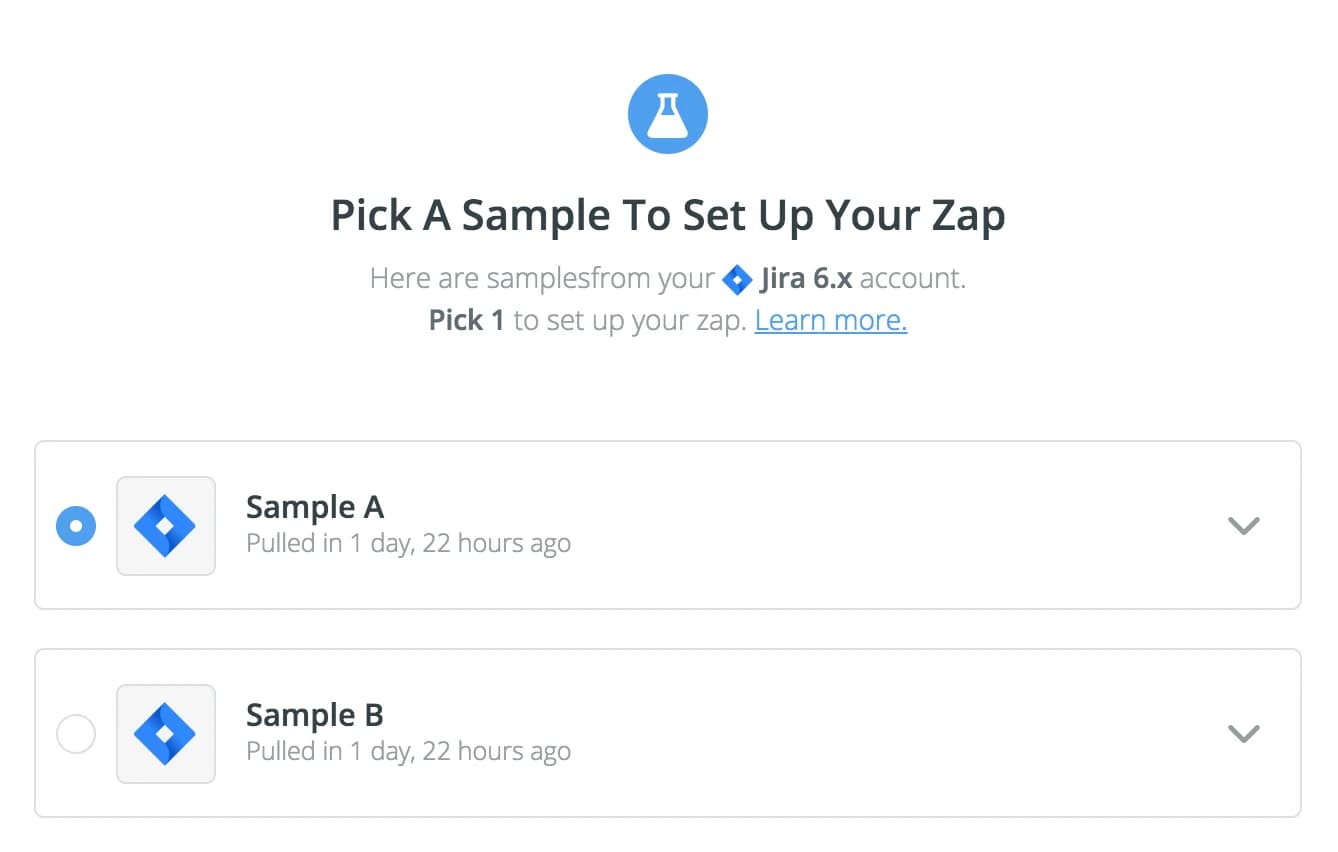
- Select Jira sample Select a sample issue. Its fields will be used in mapping later on.
- Wählen Sie Celoxis als Aktions-App aus

- Wählen Sie die Aktion „Aufgabe suchen“ aus

- Select Celoxis account Use the same connection that you used in the first zap.

- Use External Key Map the Externer Schlüssel field to the Jira Key field. This will help the Zap find the corresponding task in Celoxis.

- Testen Sie die Aktion „Aufgabe suchen“
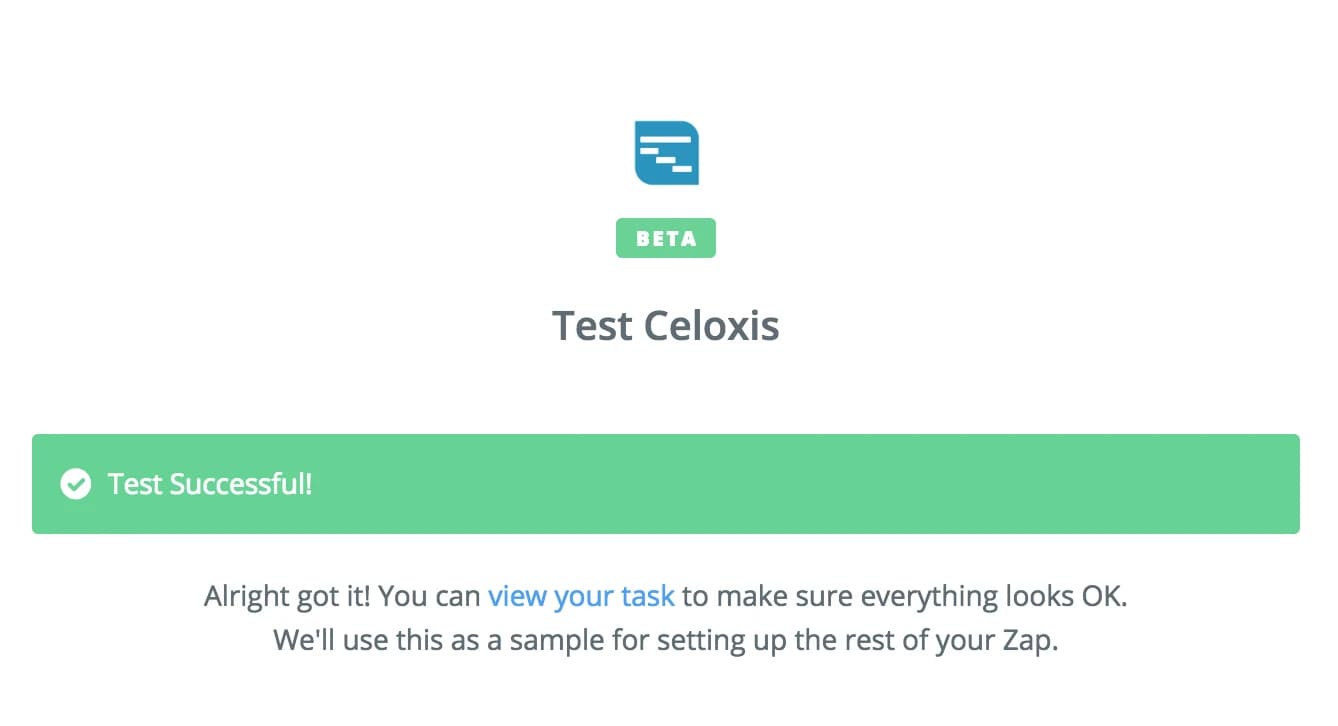
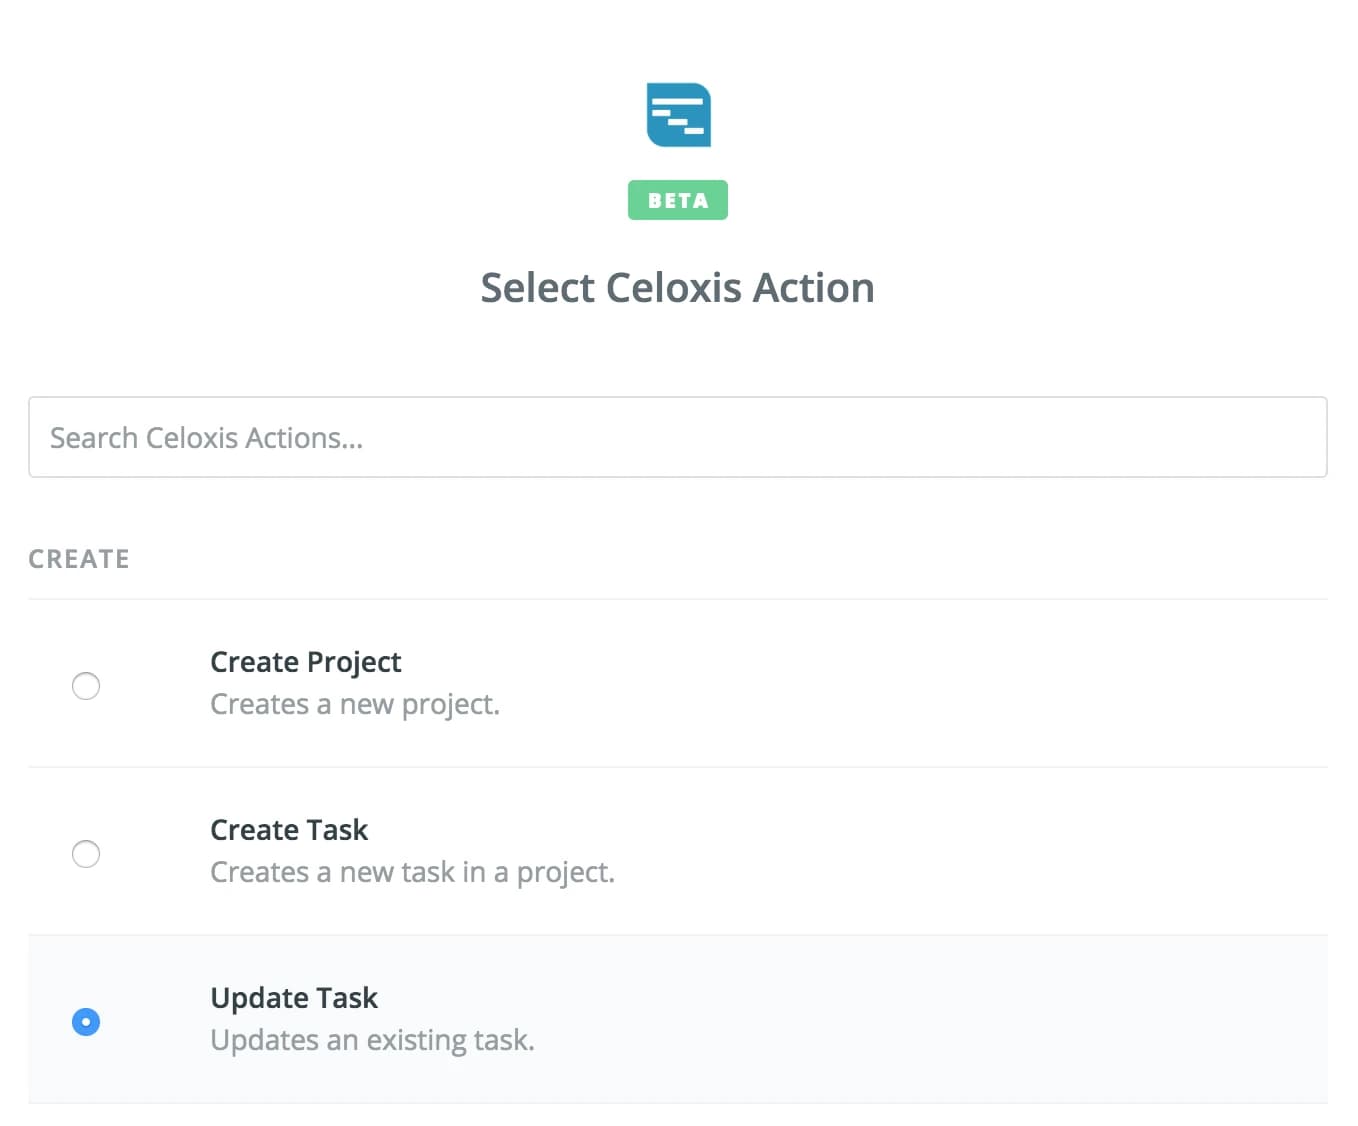
- Select Celoxis action app Now we will be updating the task in Celoxis.

- Wählen Sie die Aktion „Aufgabe aktualisieren“ aus
- Select Celoxis account Use the same connection that you used in the first zap.

- Map Fields Note how the task field is mapped to use the task found out in the previous step. Rest of the fields are used as a sample.

- Testen Sie den Zap
- Schalten Sie den Zap ein

Now after an issue has been updated in the project selected in the above Zap, the corresponding task will be updated in Celoxis based on the fields mapped above after 5-15 minutes depending on your plan with Zapier.